Sales History
Sales History is the per-store record of every transaction the POS takes — each receipt, the items on it, how it was paid, and any refunds against it. Staff open it from the portal's Sales tab to review the shift in progress and start refunds; owners and managers open Sales in the admin sidebar, pick a store, and look back over any day.
It's the same screen with two scopes. Staff see only the register session that is open right now, live on the POS device, and can refund from it (open the register first if the list is empty — see Open & close register). Owners and managers see the store's full history with date and item filters, but cannot refund here.
What's on the screen
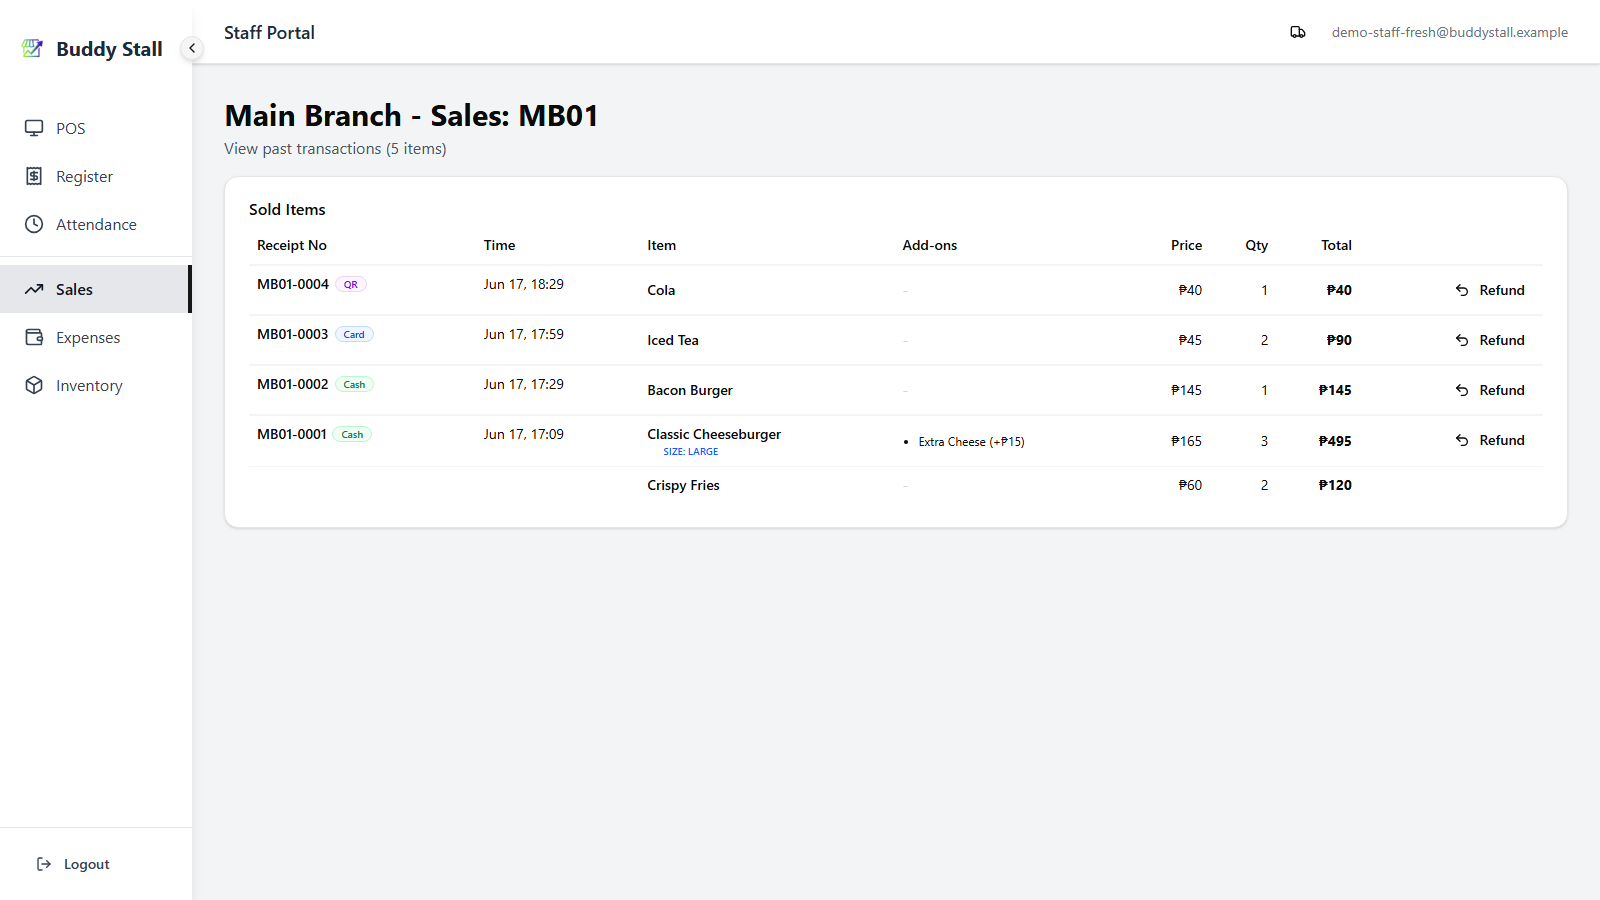
- Header — the store name and, for staff, the open session number
(
Sales: <session>), with the page's item count beneath it. - Transaction list — every sale, newest first, grouped by receipt. A wide screen shows the Sold Items table; a phone shows one card per sale with the same fields.
- Refund button (staff) — sits on every refundable sale and opens the itemized refund dialog. See How to refund.
- Filters (owner & manager) — a date-range picker and an item search, covered in Owner & manager tools below.
Reading a transaction
Each sale is one group of rows under a single receipt number. Reading a row from left to right:
 12345
123451 Receipt No, payment & time — the receipt number, a coloured payment badge (Cash, Card, QR, or Other), and when the sale was taken. All three show once per sale, on its first row.
2 Item & size — the product sold. A blue Size label sits under an item sold in a chosen size.
3 Add-ons — extras on the item, each with its
surcharge (+₱X) or a Free badge.
4 Price / Qty / Total — unit price, quantity, and line total.
5 Refund (staff) — reverses the sale; hidden on the admin console and on rows that are themselves refunds. See How to refund.
A sale with several products lists each on its own row under the one
receipt — above, Classic Cheeseburger and Crispy Fries share
receipt MB01-0001 — and the transaction Total covers them
together. Combos show the parent item with its components indented
beneath it (└); a combo is always refunded or removed as a whole,
never a single component.
When you're offline
The POS device keeps selling when the network drops, so Sales History keeps working — showing the cached list plus anything taken on the device that hasn't uploaded yet. Two badges flag the sync state:
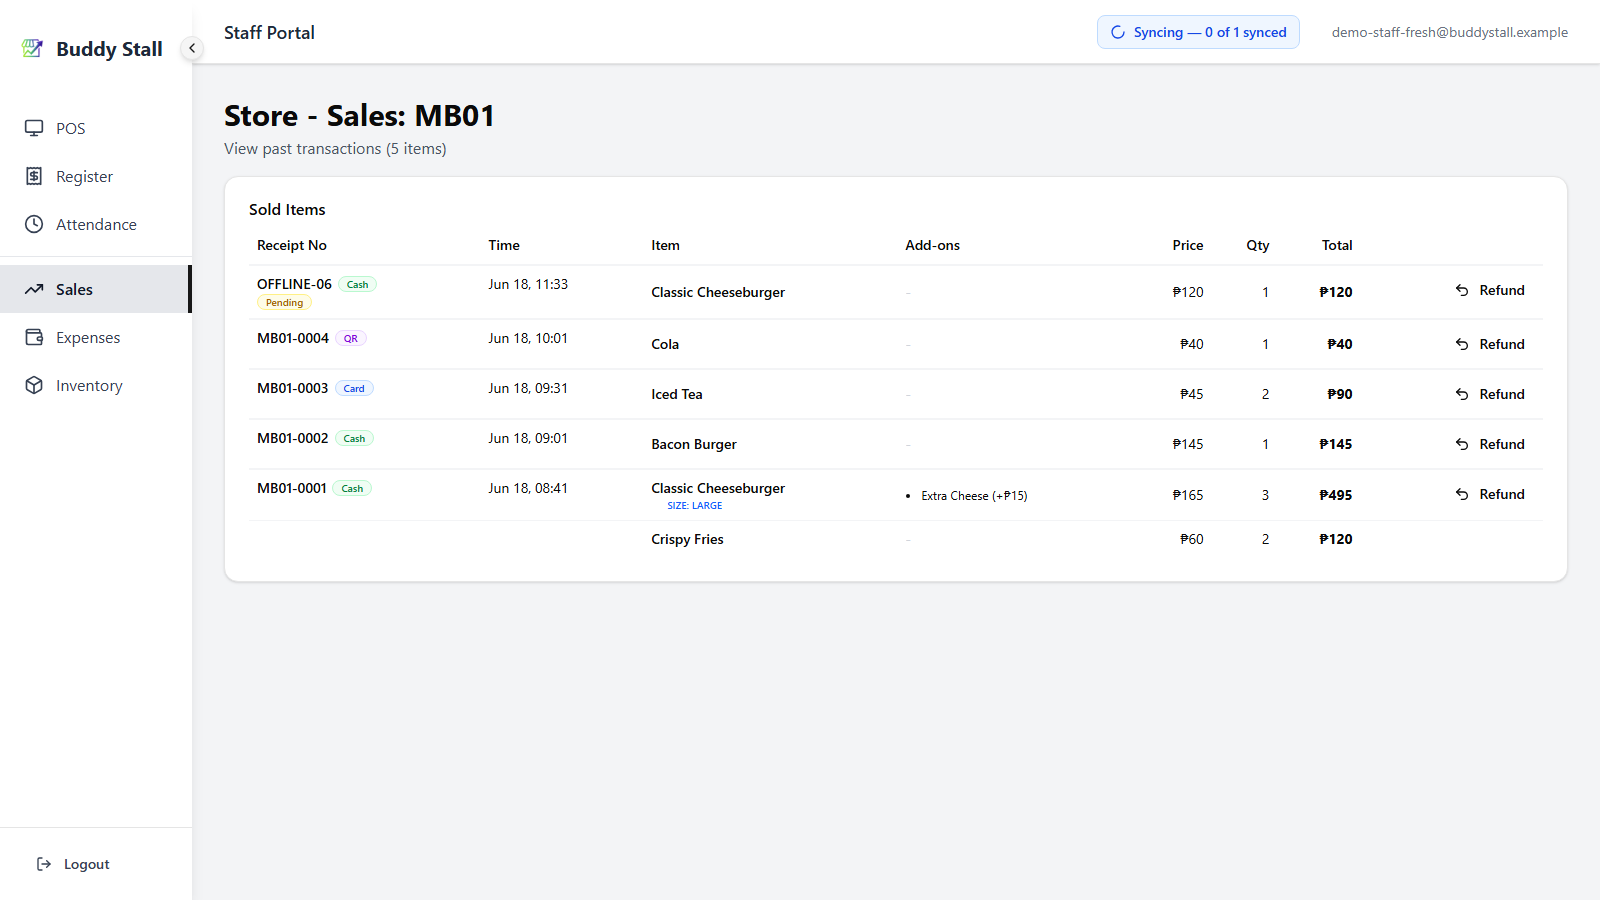
- A yellow Pending badge marks a sale or refund saved on the device and waiting to sync; it uploads on its own once the connection returns, and the badge clears.
- A red Failed badge marks one that could not sync. It stays in the list read-only — no Refund button — until it recovers.
The offline model behind this — what is cached, how the queue drains — is explained in Working offline.
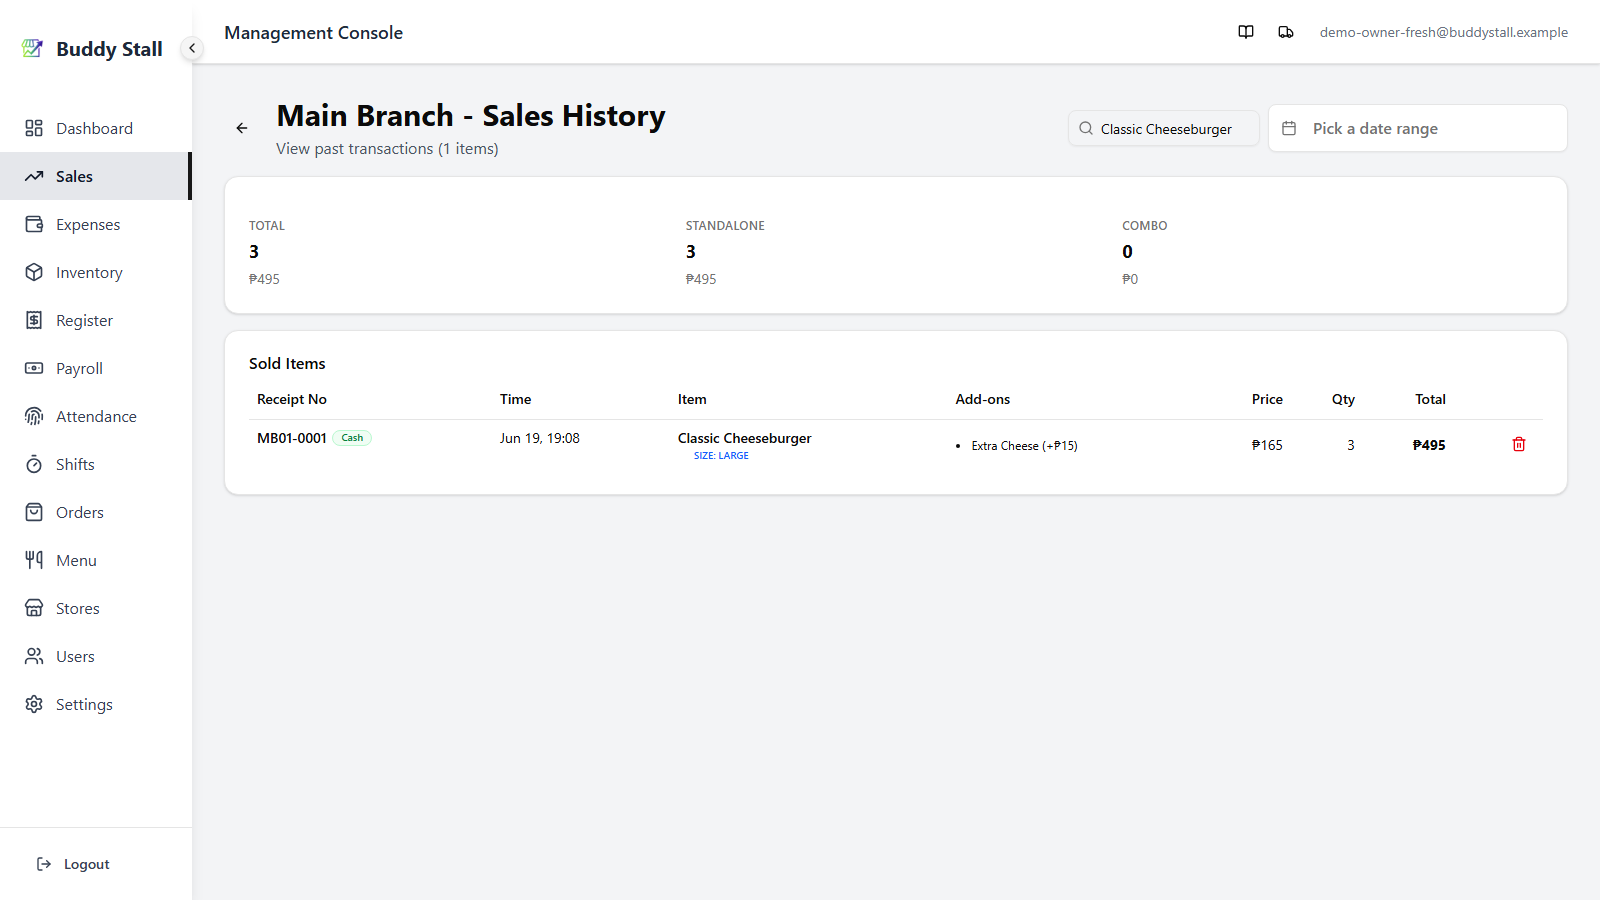
Owner & manager tools
The admin console adds review tools the POS device doesn't show.
 1234
12341 Search item — type a product name to list just its sales over the current range.
2 Date range — narrows the list to sales within a range, or a single day. The item count and paging follow; clear it to return to today.
3 Summary card — with a search active, the matches are totalled as Total, Standalone, and Combo (quantity and amount each), so you can see what a line item earned on its own versus inside combos.
4 Delete (owner only) — the trash icon erases a transaction and its inventory log permanently. It is meant only for test data or genuine mistakes, and is blocked while a refund still exists against the sale.
Long result sets page 100 items at a time, with Previous / Next at the foot of the list.
Session-level cash totals behind these sales live one level up, in Register History.
Deleting erases a sale as if it never happened and doesn't adjust the register's cash or sales totals. To reverse a real sale — returning the money and restoring stock — use a refund instead, and leave delete for clearing out test entries.