Set up your menu
This walkthrough takes you from an empty menu to a working POS. You start in the master menu (categories, items, sizes, add-ons), move to a store menu (availability and prices), and finish with a look at how the result appears in the POS.
Franchise If your store is connected to a franchise, much of this is already done — the franchisor's menu preset loads straight into your master menu. See the franchise note at the bottom of this page.
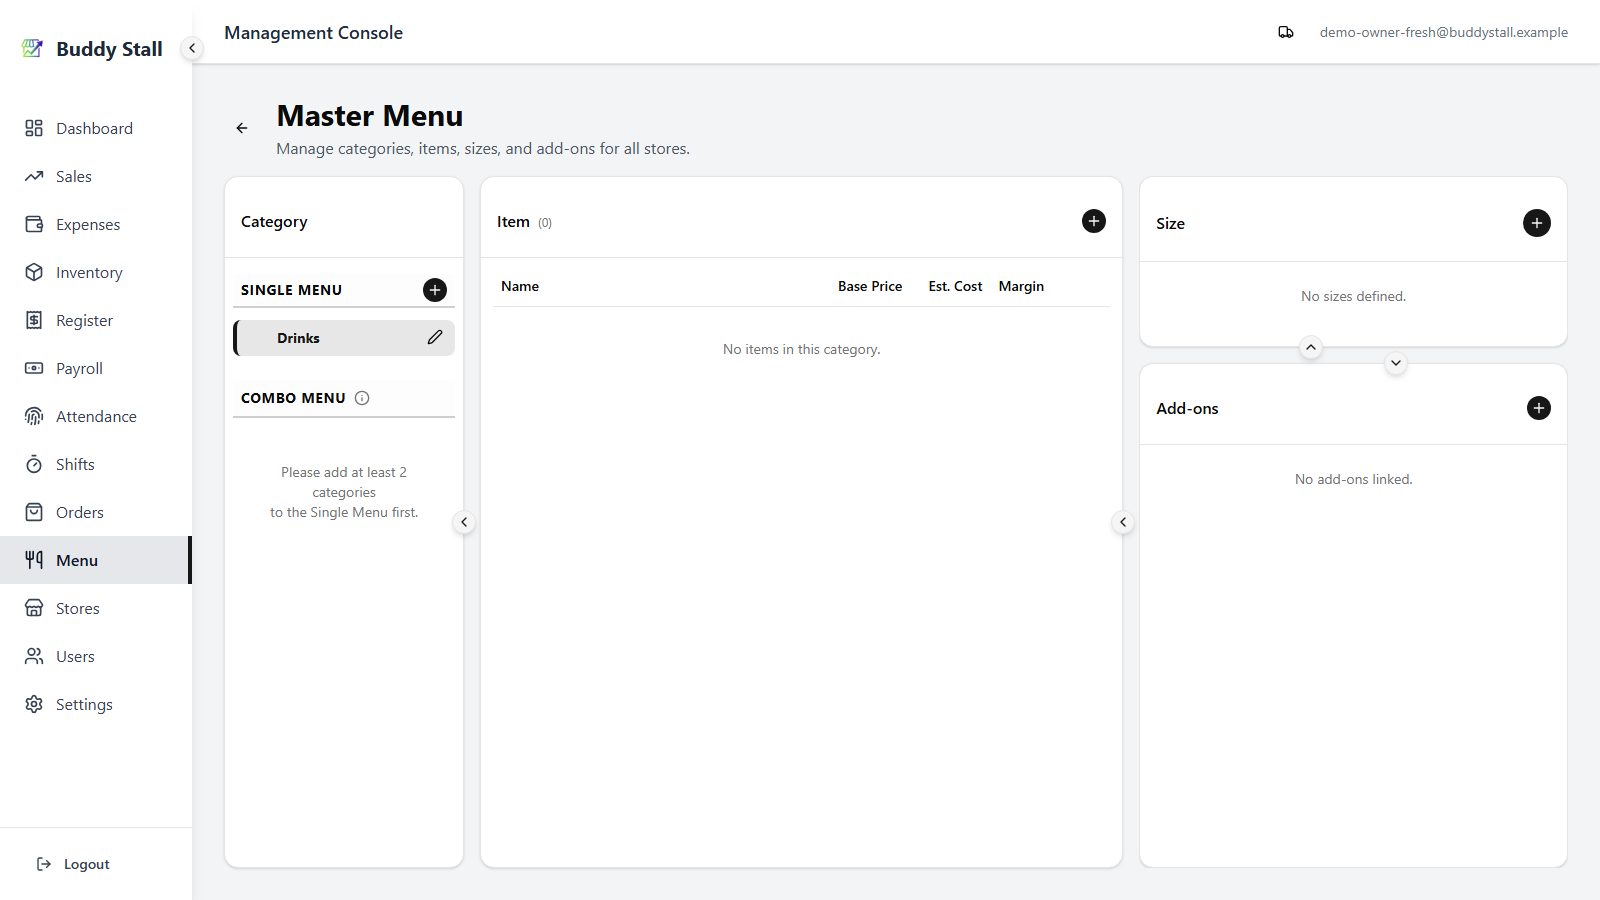
1. Open the master menu
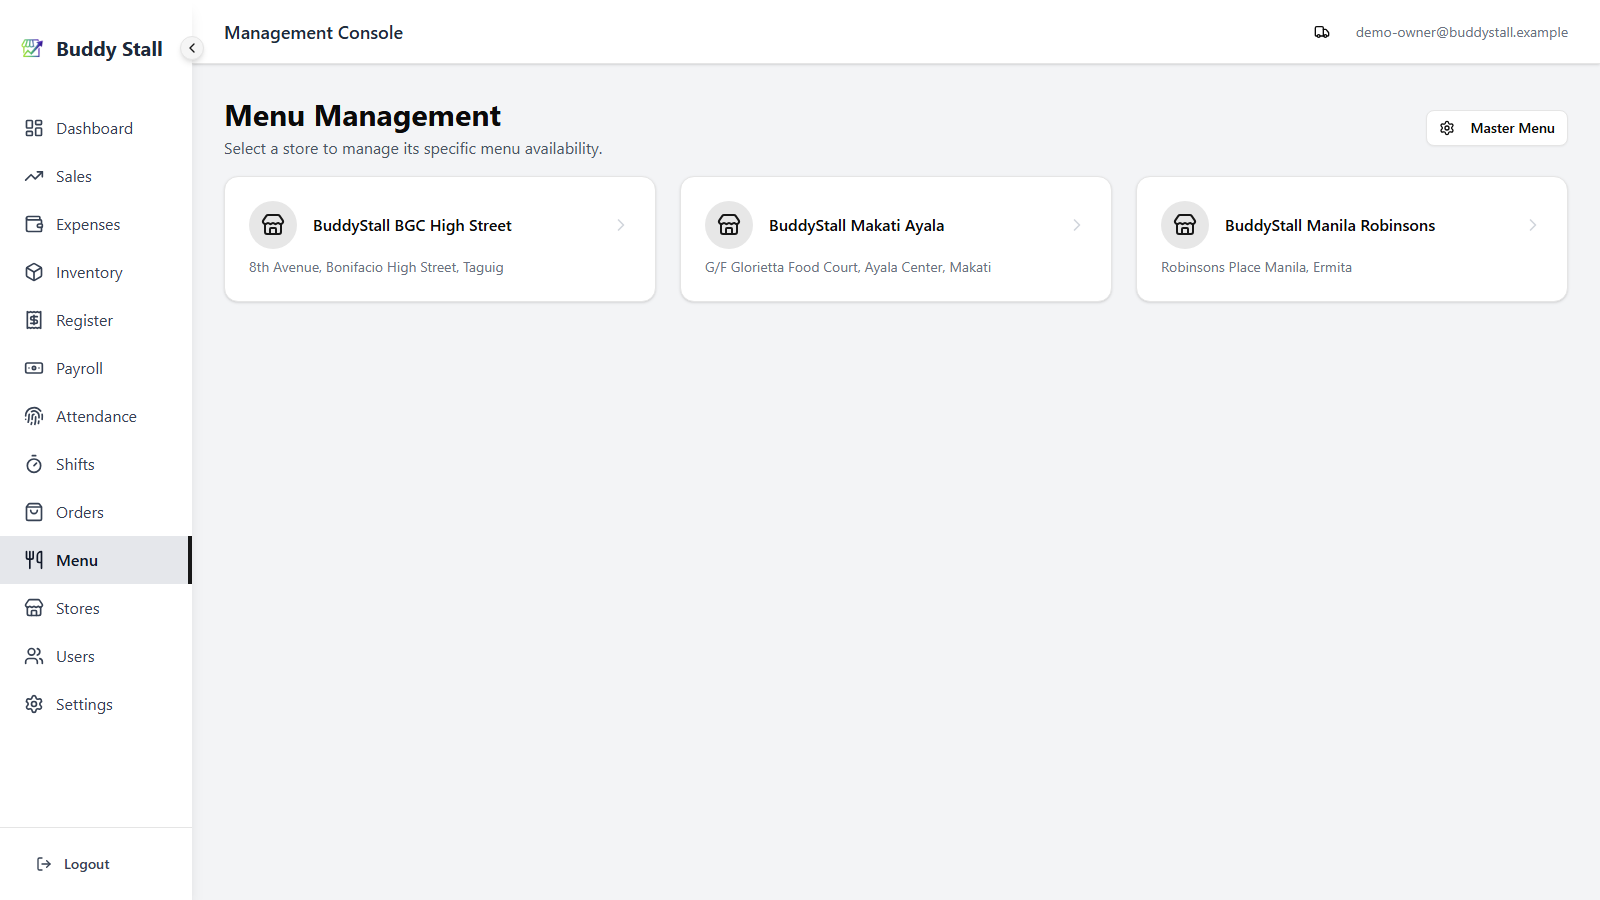
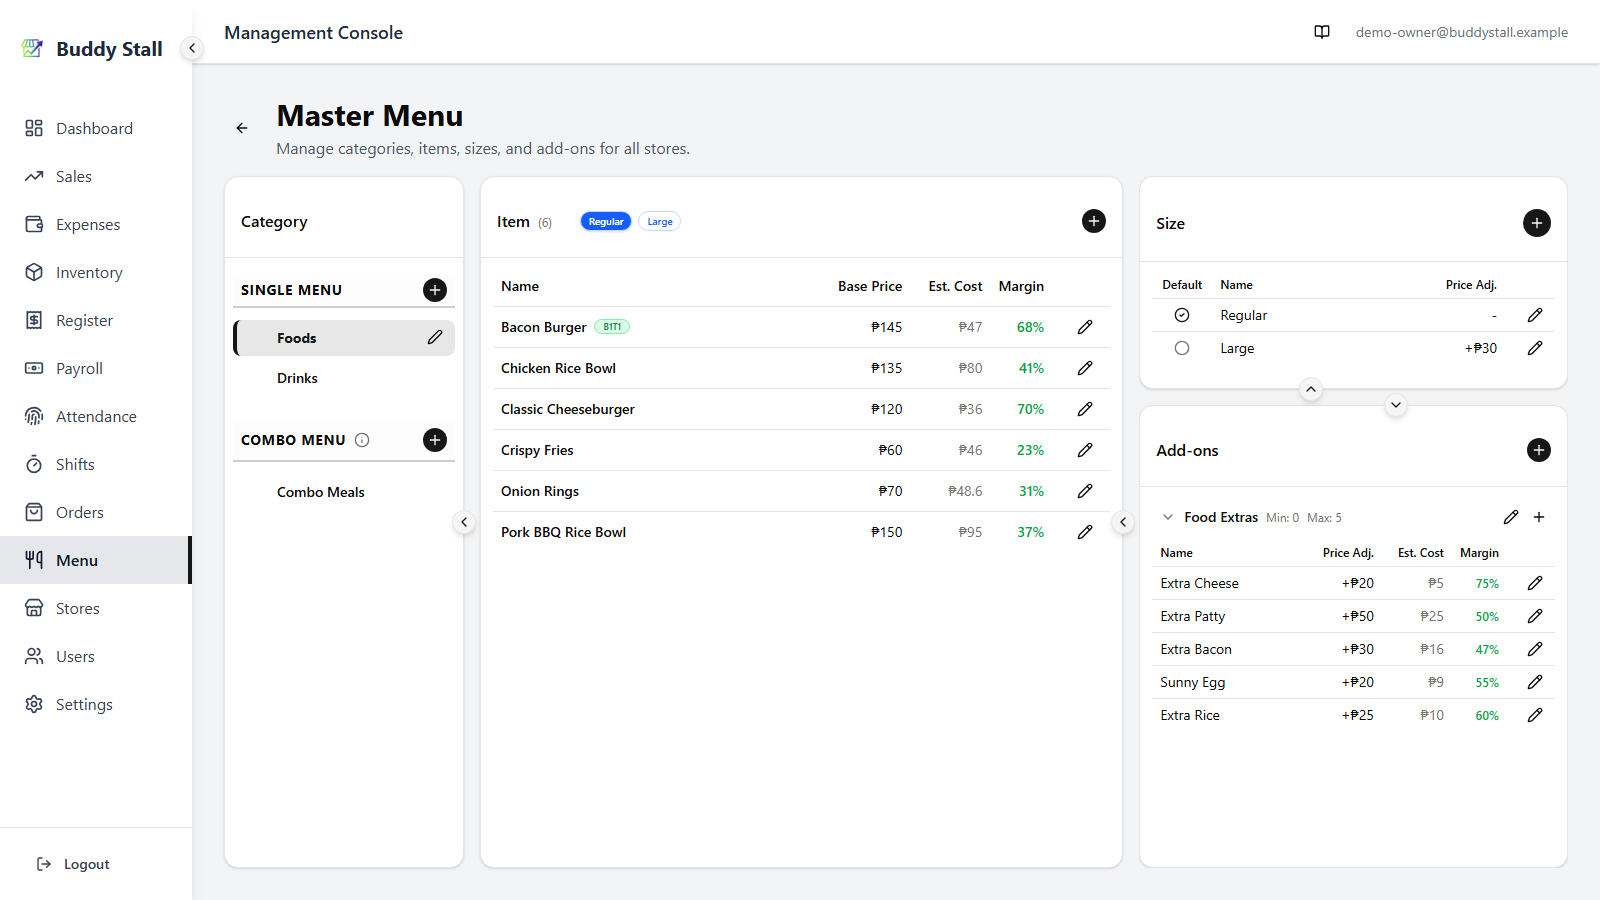
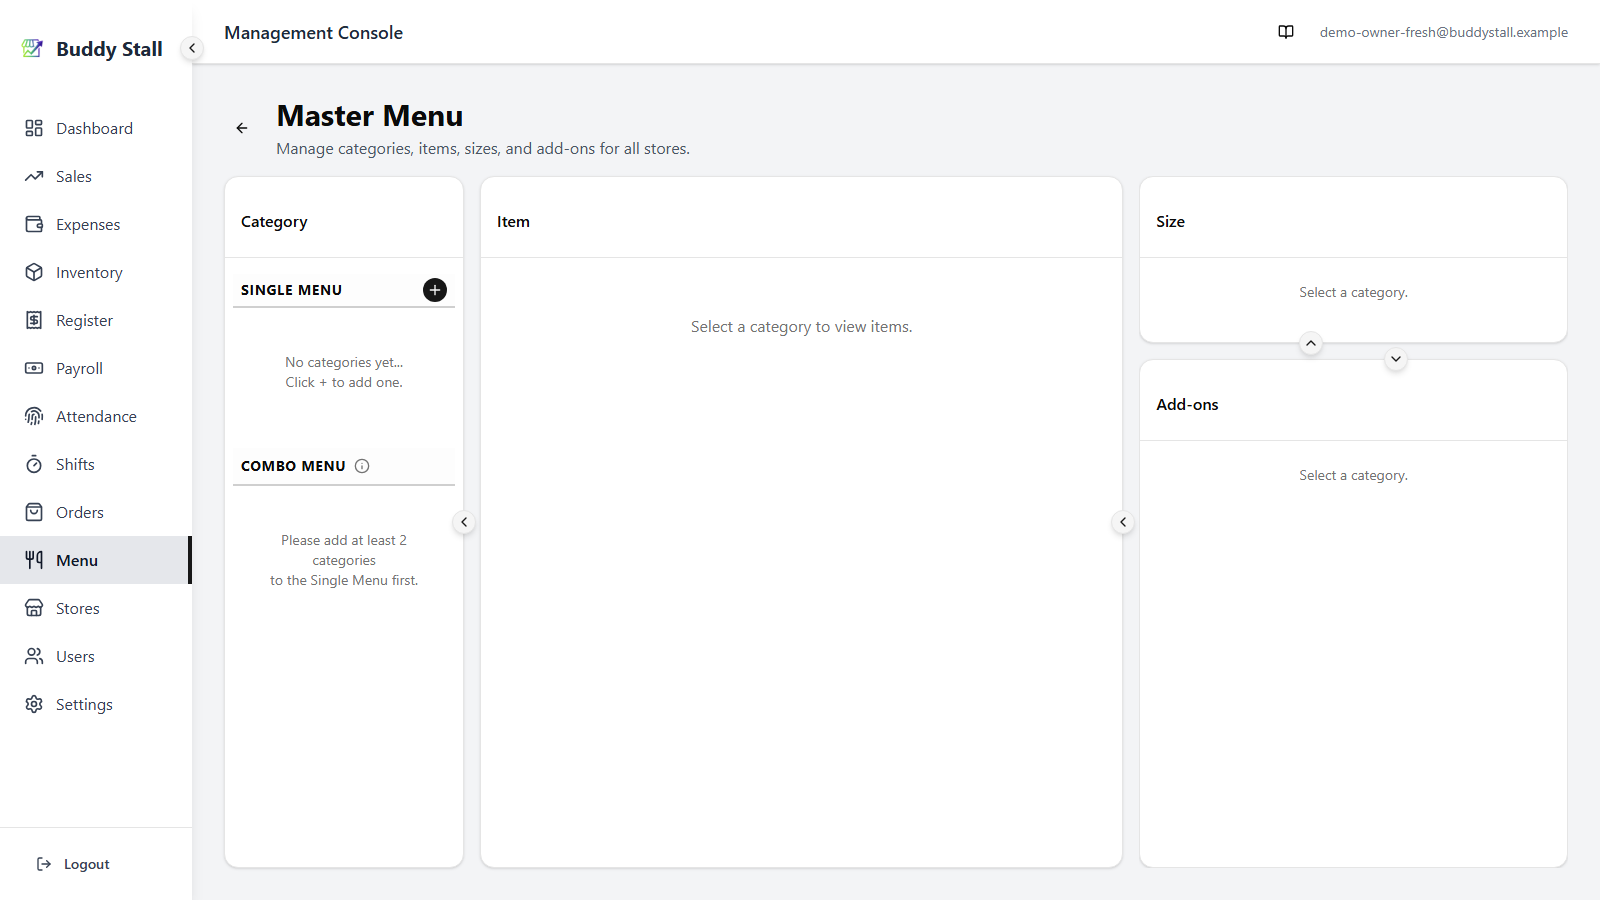
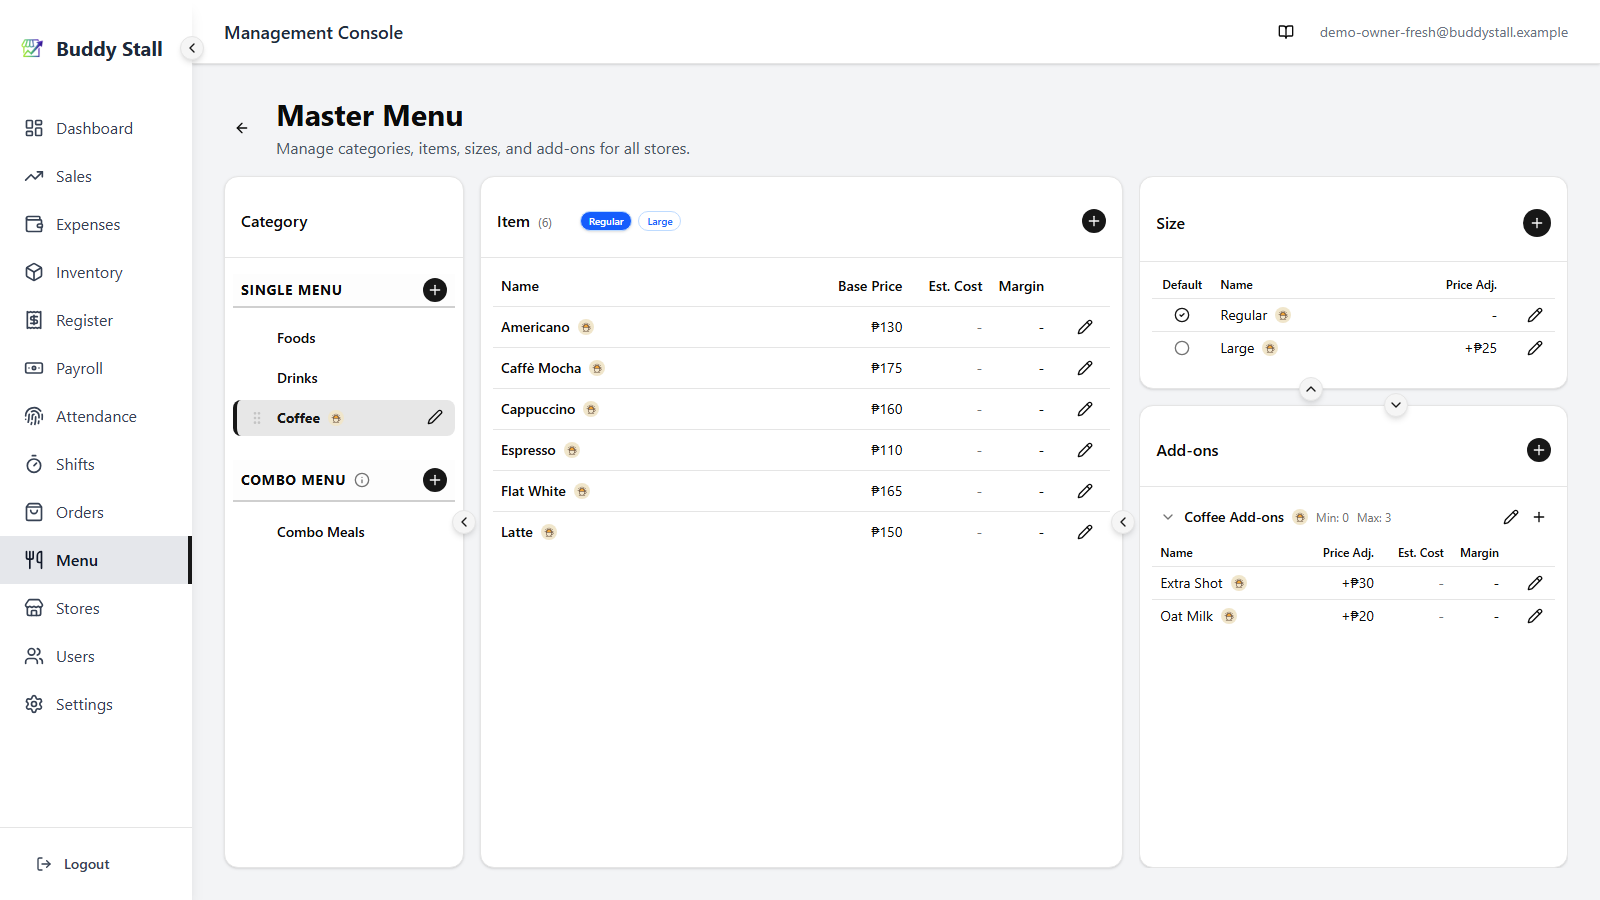
Sign in as the owner. From the main navigation, open Menu — you will see a list of your stores. Click Master Menu in the top-right to open the owner-wide catalog where categories, items, sizes, and add-ons live.
2. Create a category
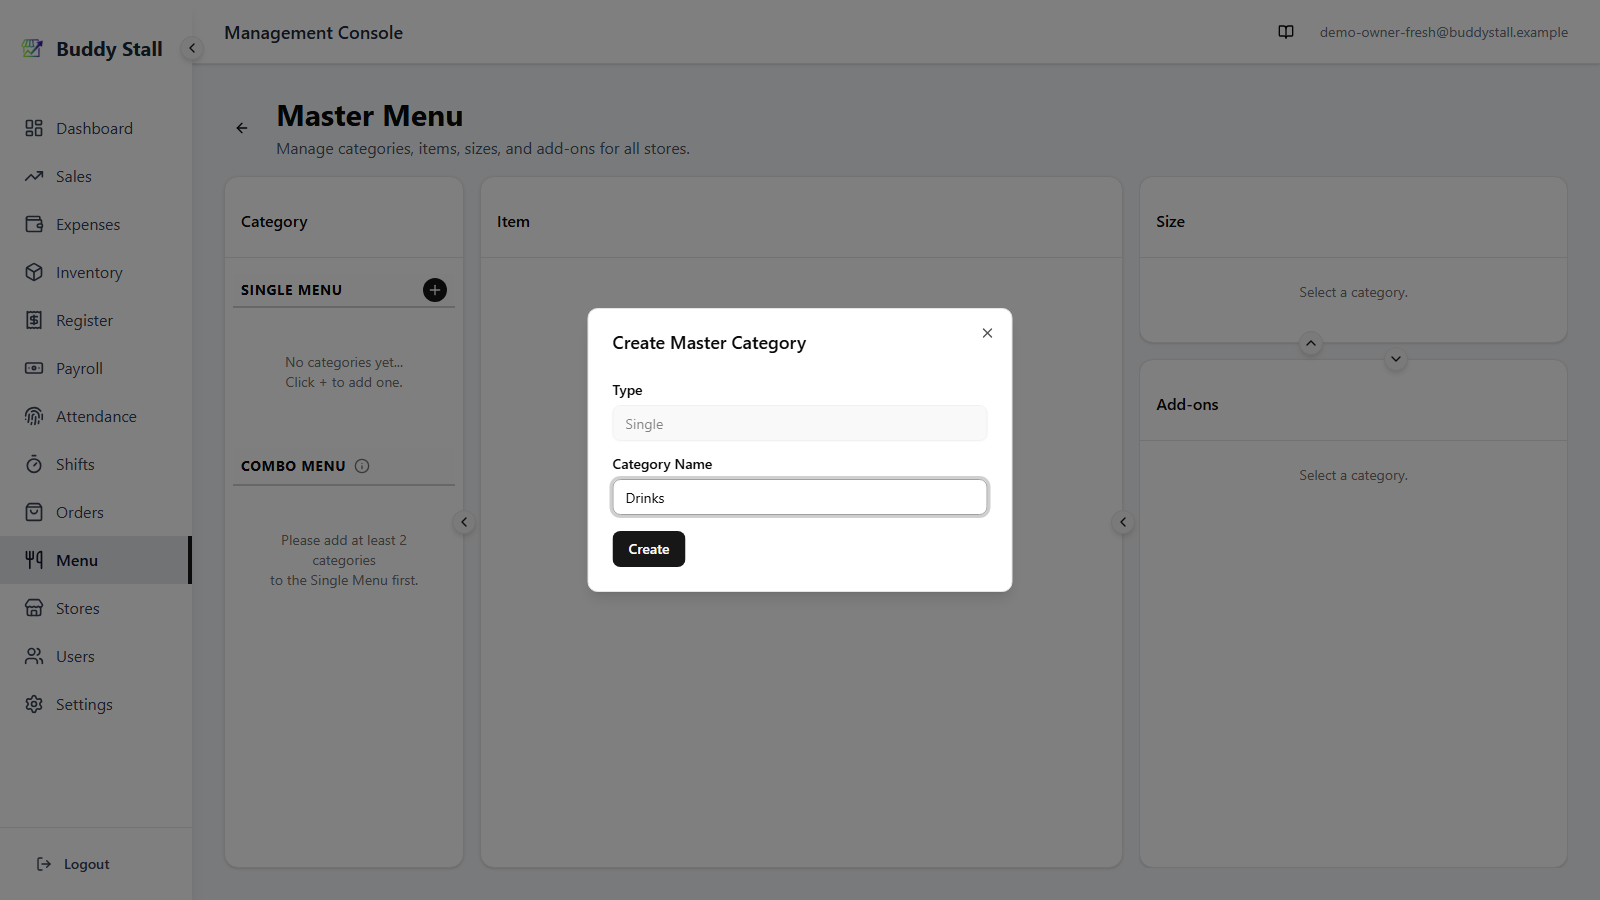
In the Categories panel on the left, add a category — for example "Drinks".
- Single — ordinary items, each sold on its own.
- Combo — set meals built from items across single categories. The Combo option only becomes available after you have two or more single categories in place.

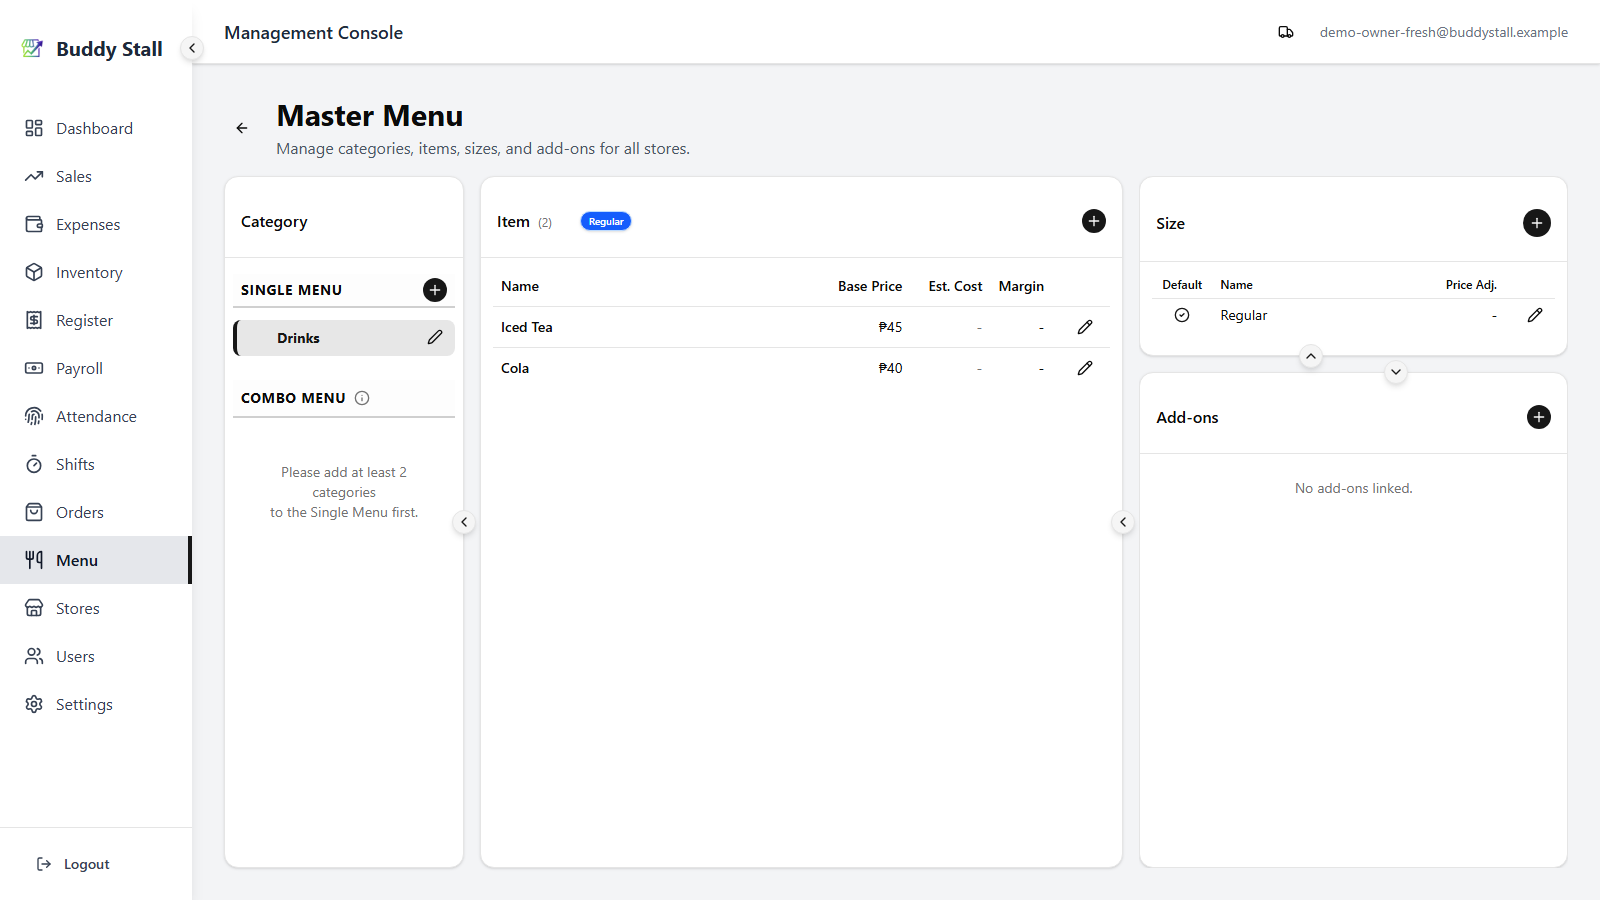
3. Add items
Select the category you just created, then add items in the Items panel in the centre. The item dialog asks for a name and a base price — description and photo are optional.
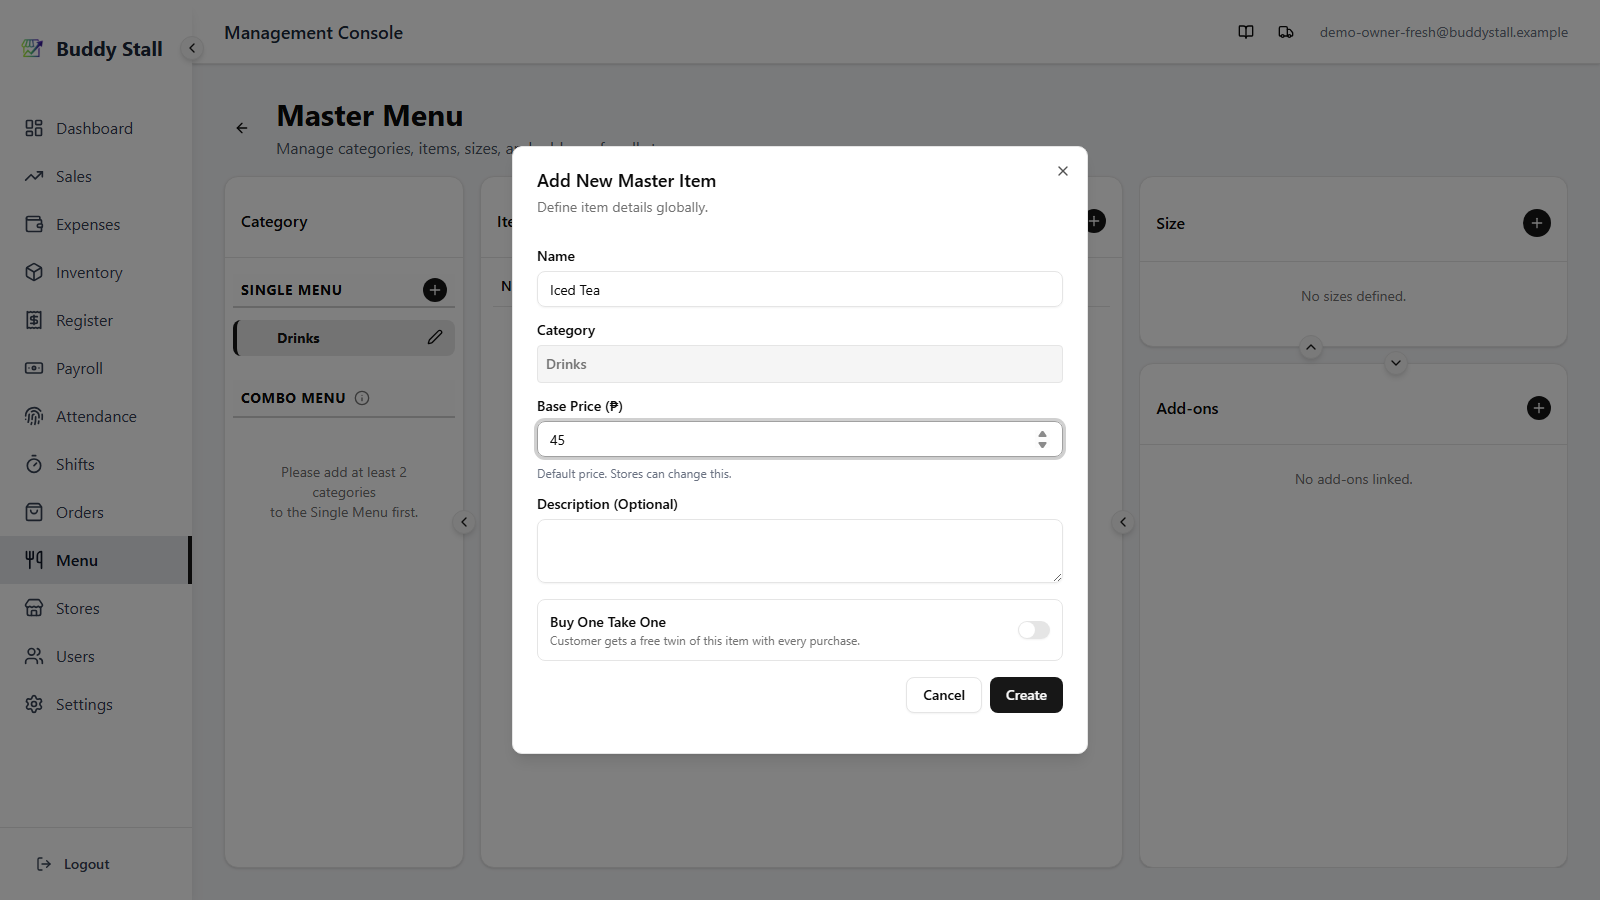
A single item can also run a Buy One Take One promo — switch on the toggle at the bottom of the item dialog and each sale adds a second one free. Turn it on now or any time later; each store then chooses whether to honour it (step 10). Combo items can't use it. An item with it on carries a green B1T1 badge in the master menu.
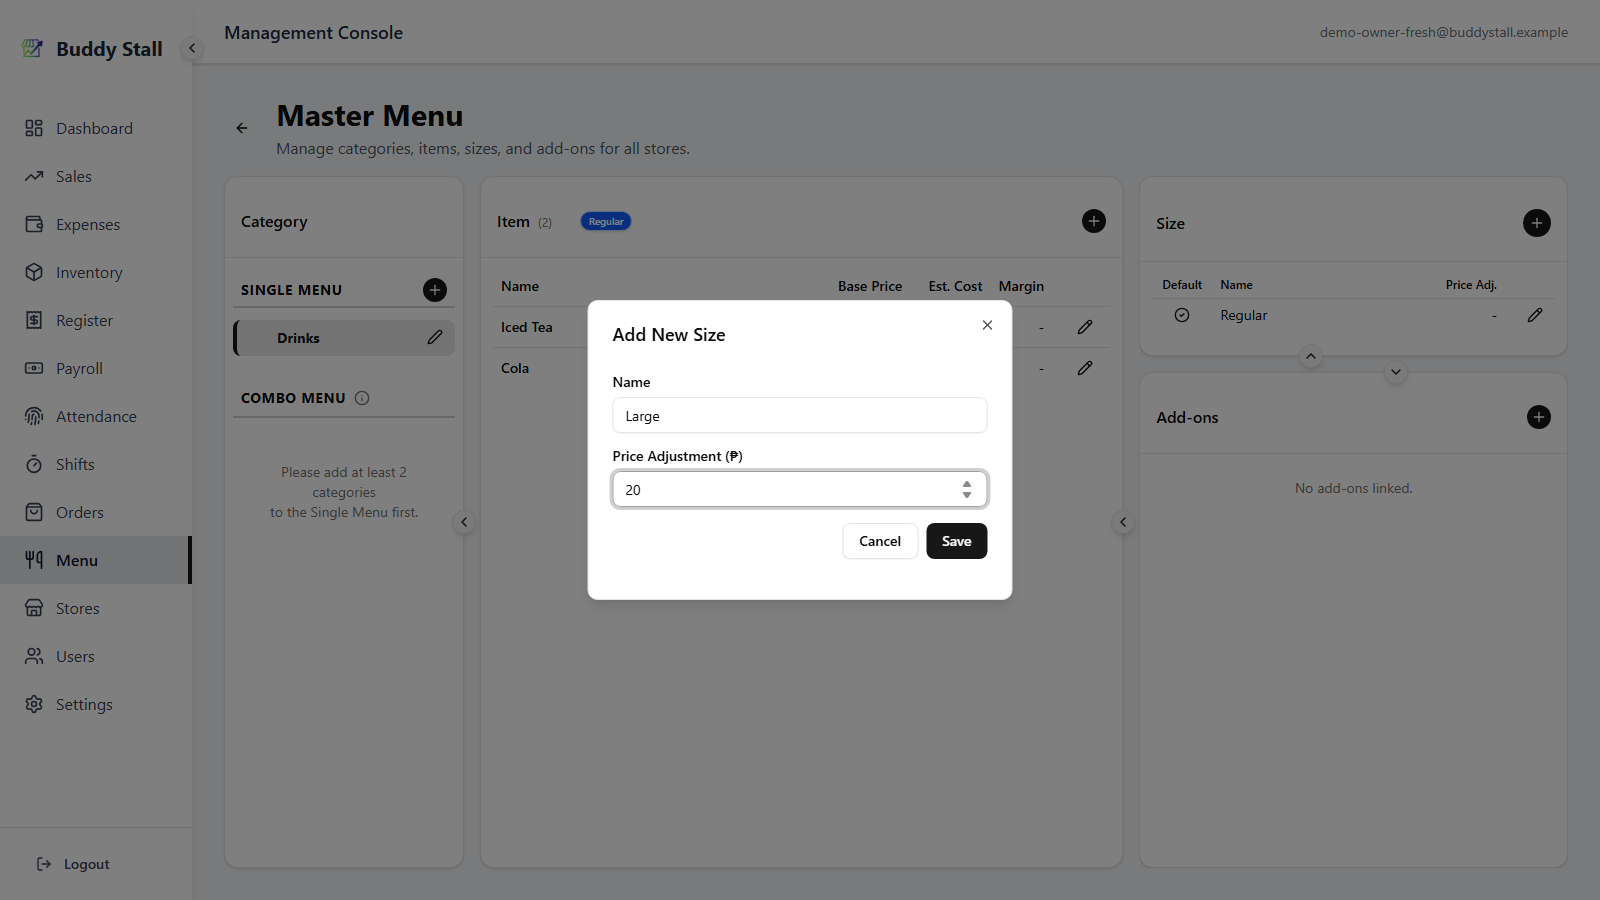
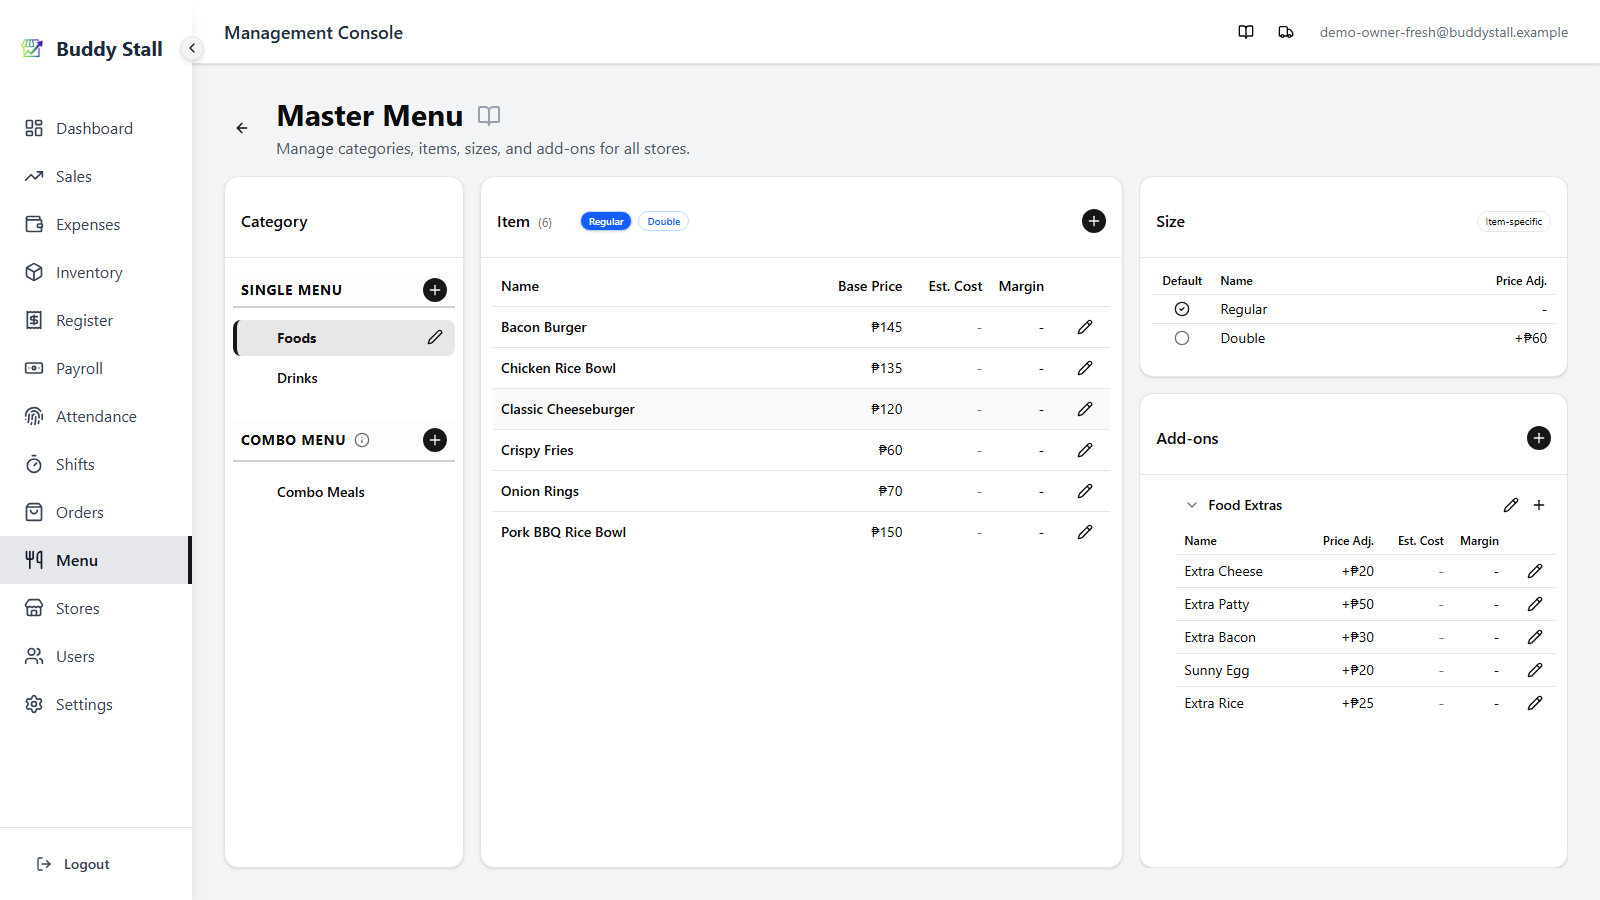
4. Set sizes
If the category needs sizes — Small / Medium / Large, for example — add them in the Sizes panel on the right. Each size has a price adjustment added on top of an item's base price, and one size is the default.
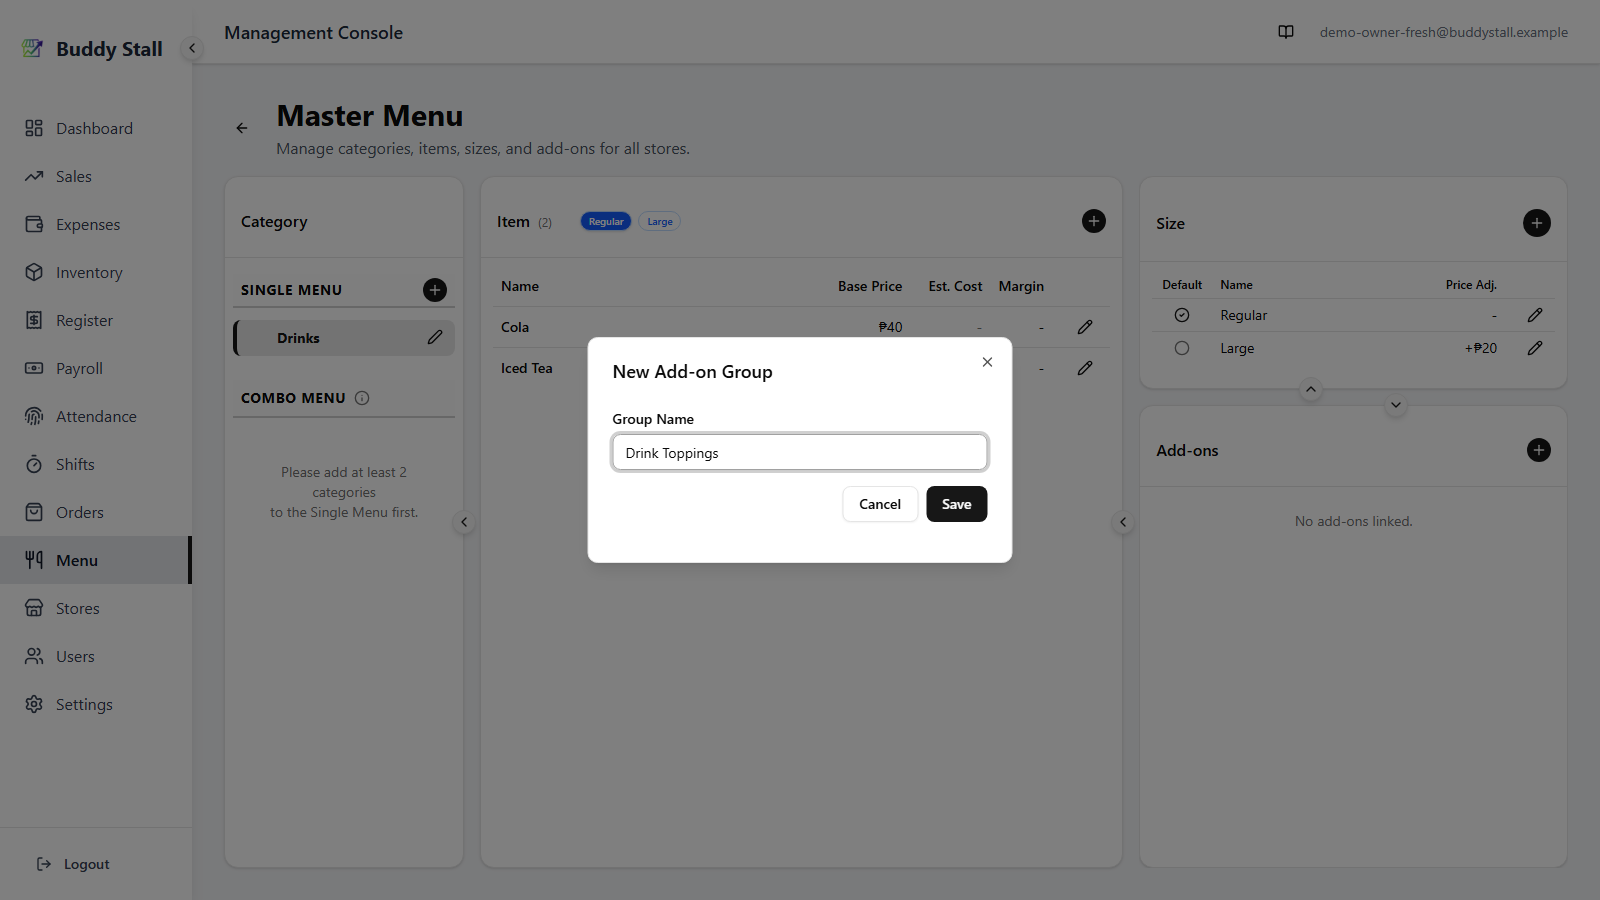
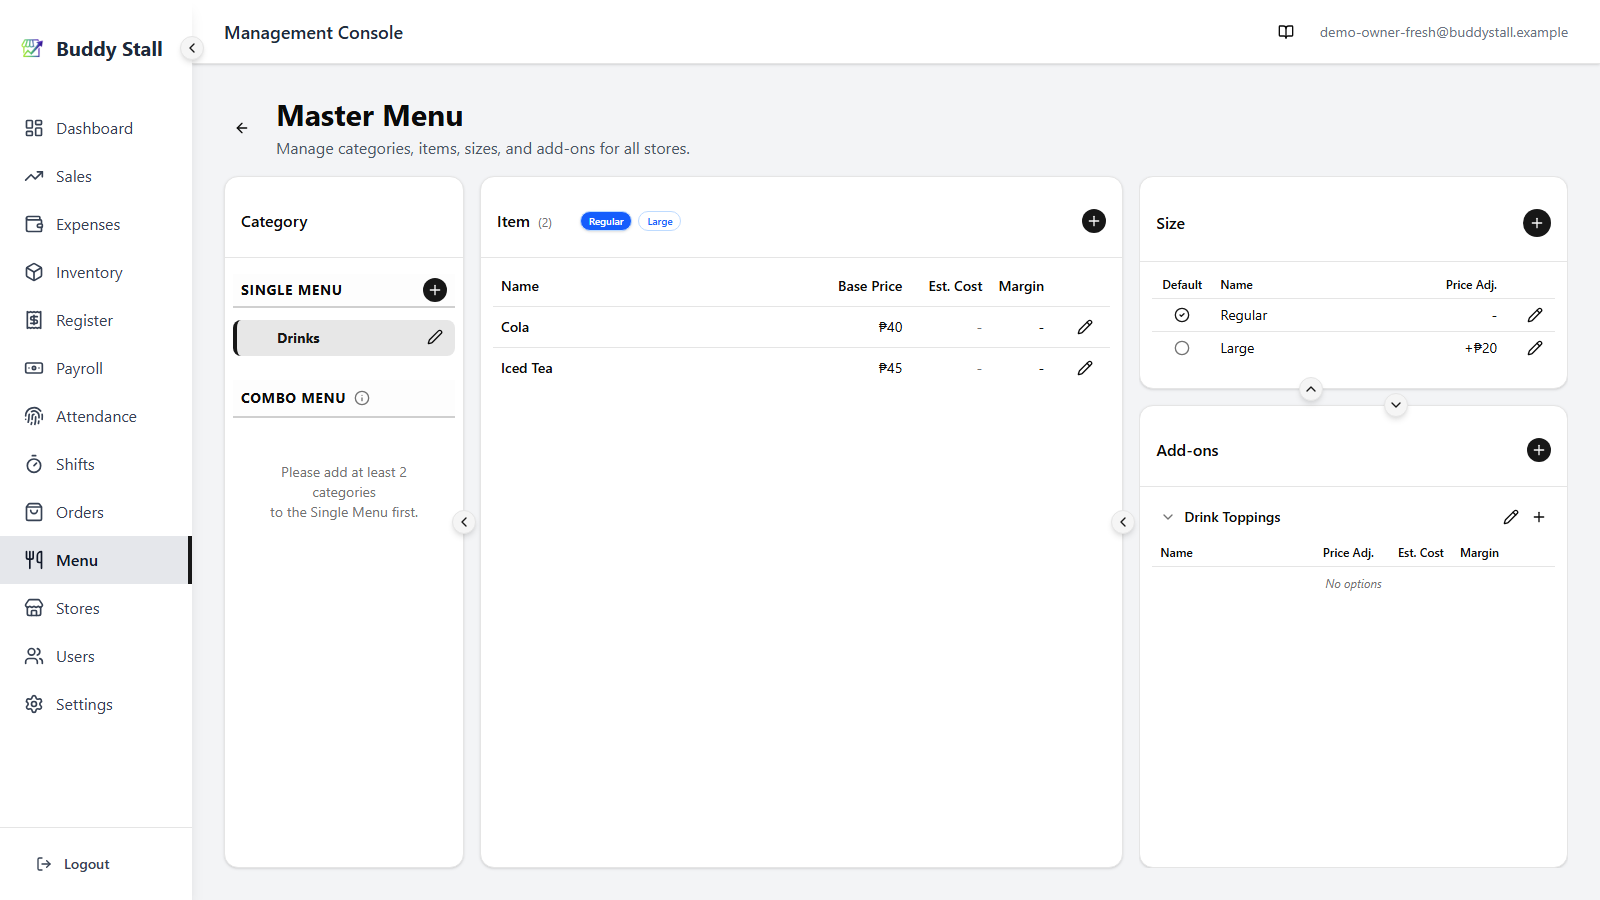
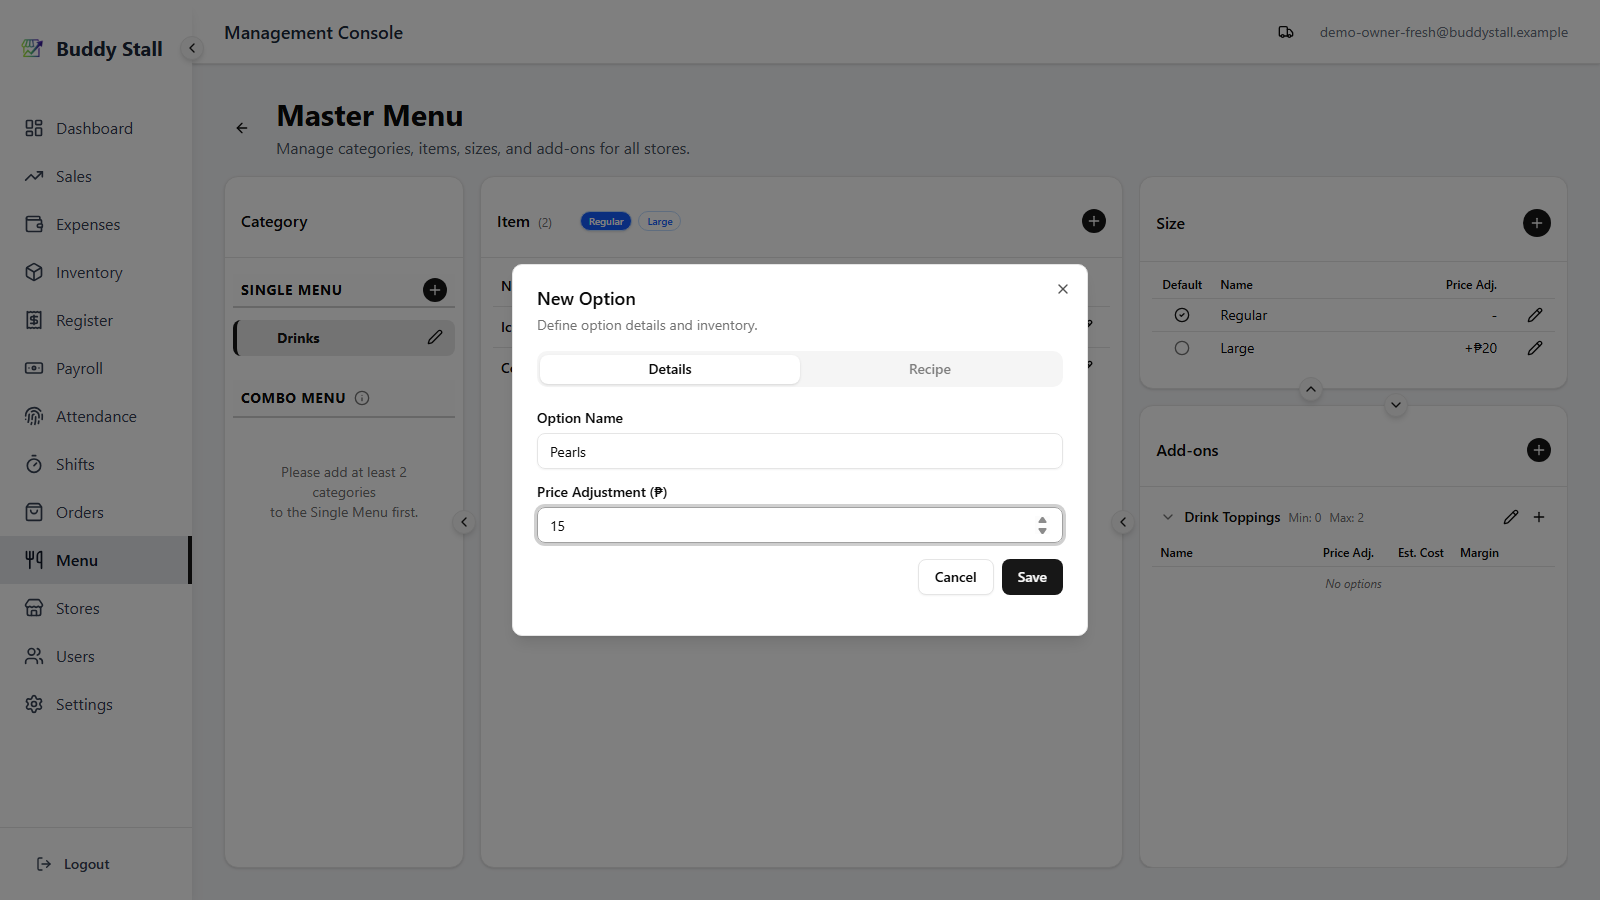
5. Add add-ons
Use the Add-ons panel in two steps: first create a group — a named set of related choices — then add the options inside the group, each with its own price adjustment.

6. Customize sizes or add-ons for a single item (optional)
The sizes and add-ons above apply to every item in the category. If one item needs to differ — its own sizes, or a different set of add-on groups — open that item's edit dialog from the Items panel (the pencil on its row) and go to the Sizes & Add-ons tab.
Sizes and add-ons each take a mode of their own:
- Inherit category — use the category's set (the default; leave it here and nothing changes).
- Customize — turn category sizes or add-on groups on or off for this item, override a size's price, and add item-only sizes, groups, or options that belong to this item alone.
- Disable — the item has no sizes / no add-ons at all.
Your edits are staged — press Update to save them (close the dialog without it and they're discarded).

How it then appears. Back in the menu, select the item in the Items panel and the right column switches to its effective sizes and add-ons:
- A section the item still inherits stays the normal, editable category panel — editing it there changes the category, for every inheriting item.
- A section the item overrides is read-only and carries an Item-specific badge — your at-a-glance sign that this item differs from its category. A disabled section reads "turned off for this item." (One exception: in a customized Add-ons panel the item's own item-only options stay editable — use the pencil on an option row to set its name, price, or recipe.)
7. Create a combo menu
Once you have two or more single categories, you can bundle items into combos priced as one. Building a combo category and its combo items has its own walkthrough — see Combo menus.
8. Switch to a store menu
Go back to Menu and pick the store you want to set up.
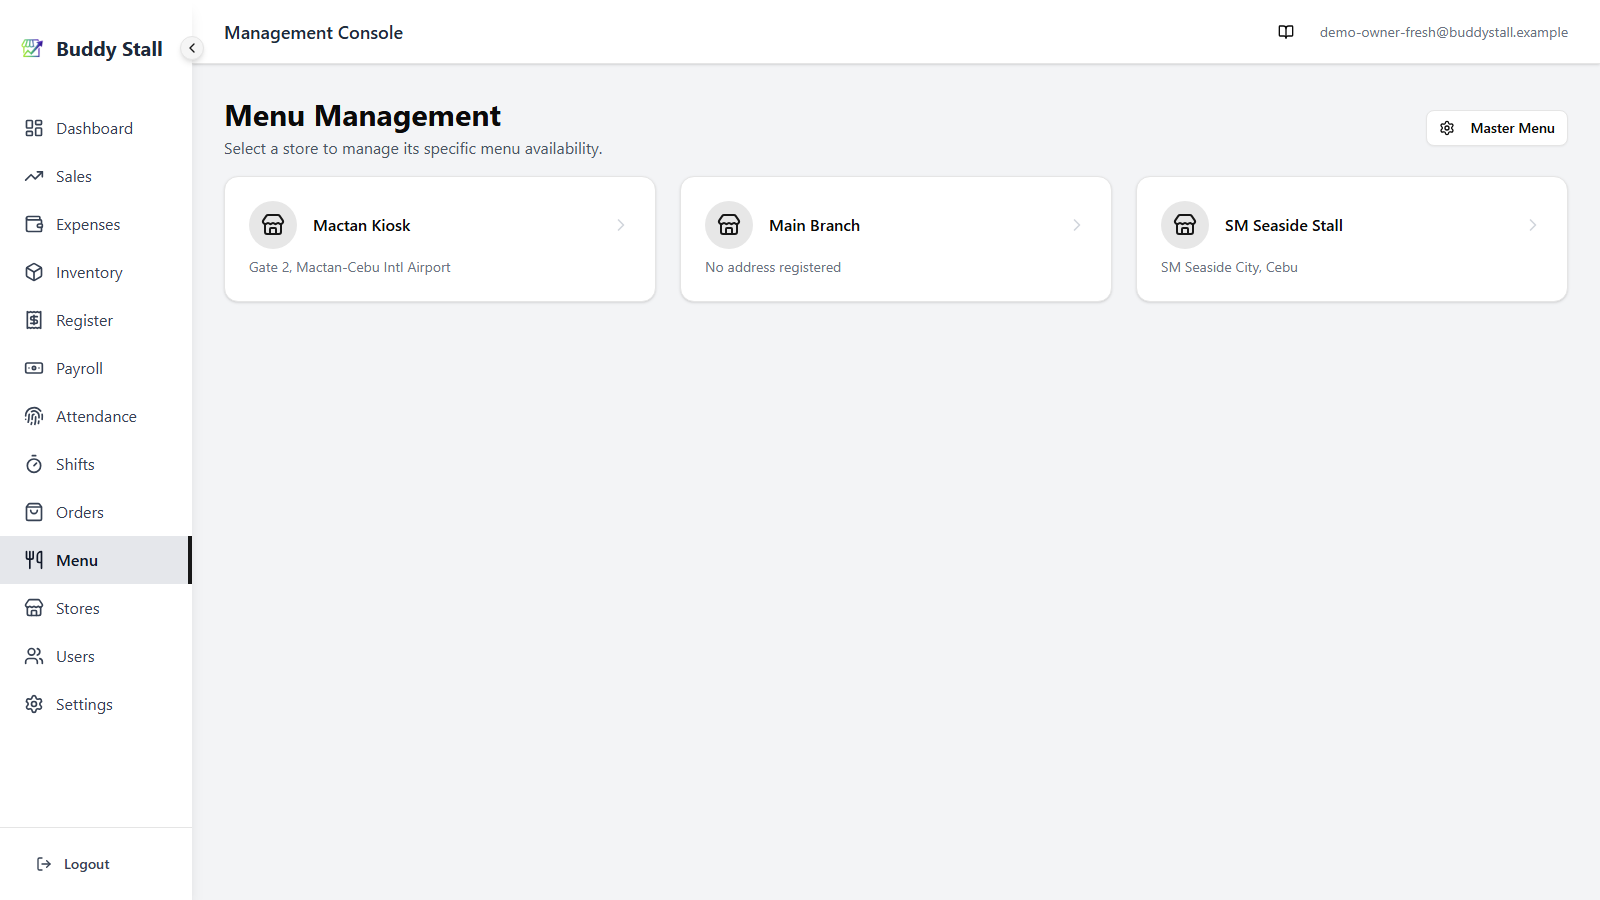
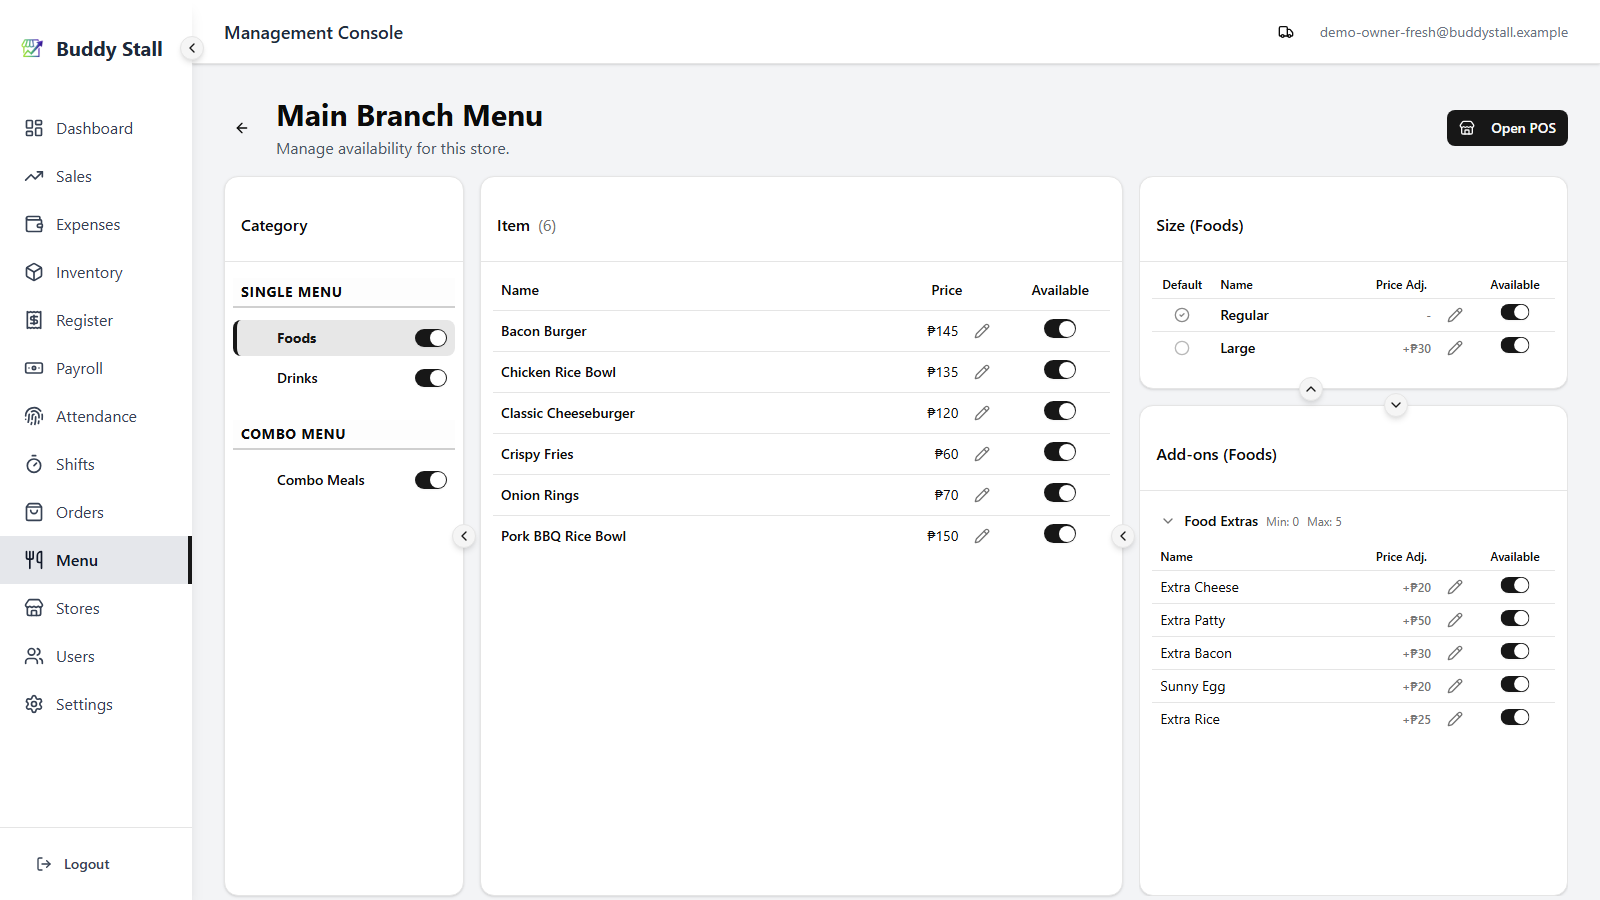
The store menu lists every master category, item, size, and add-on — all available and at the master price by default, so the store is sellable right away.
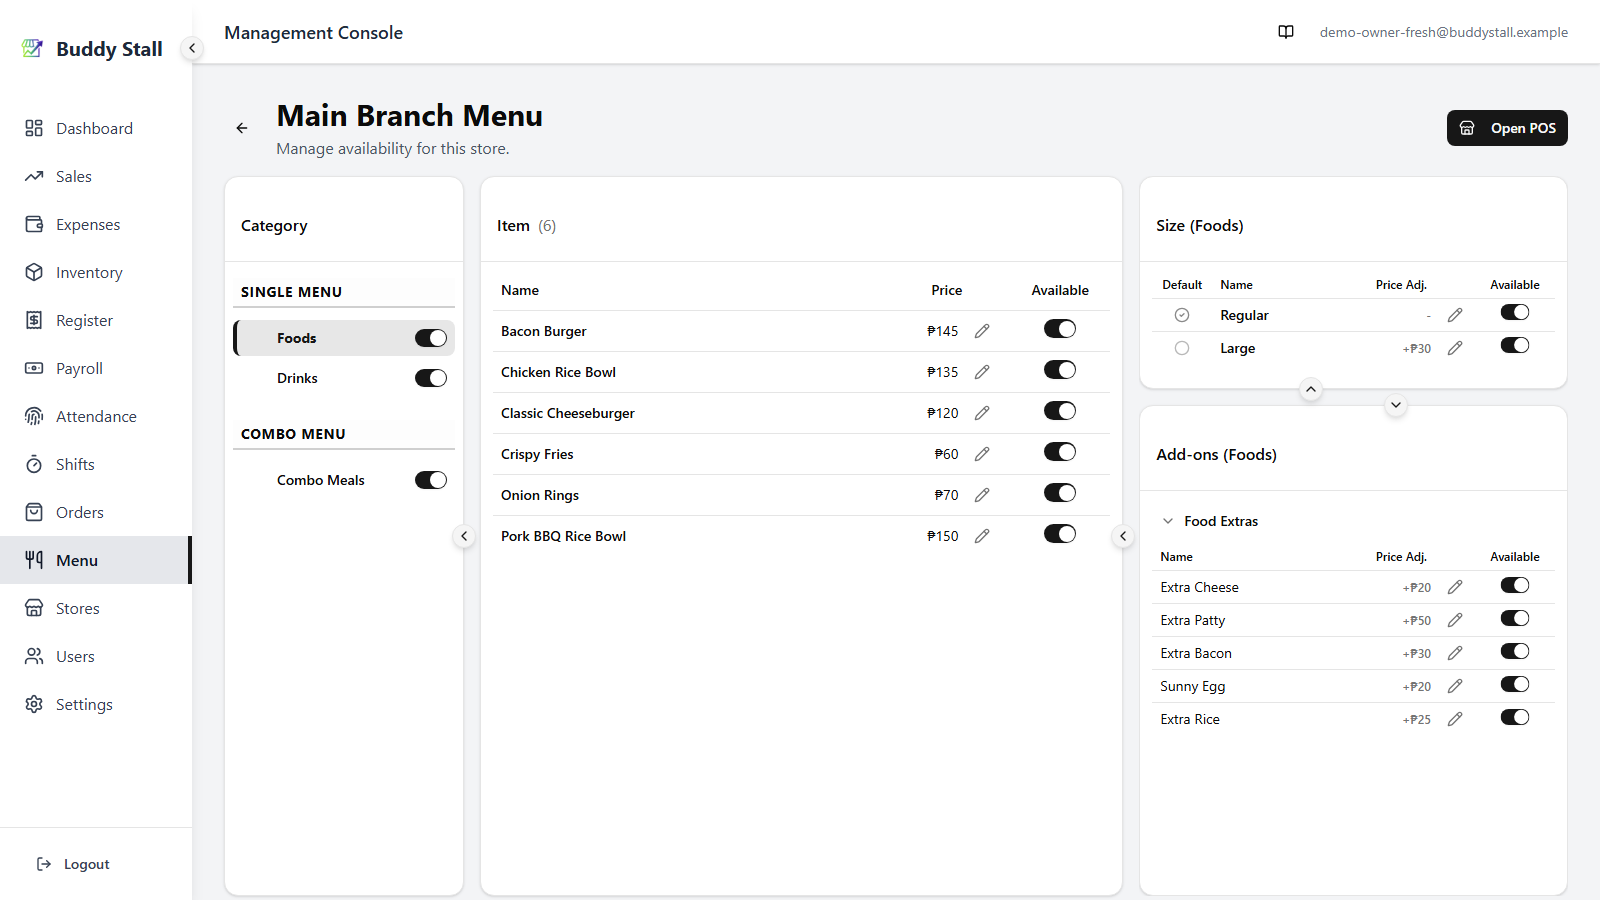
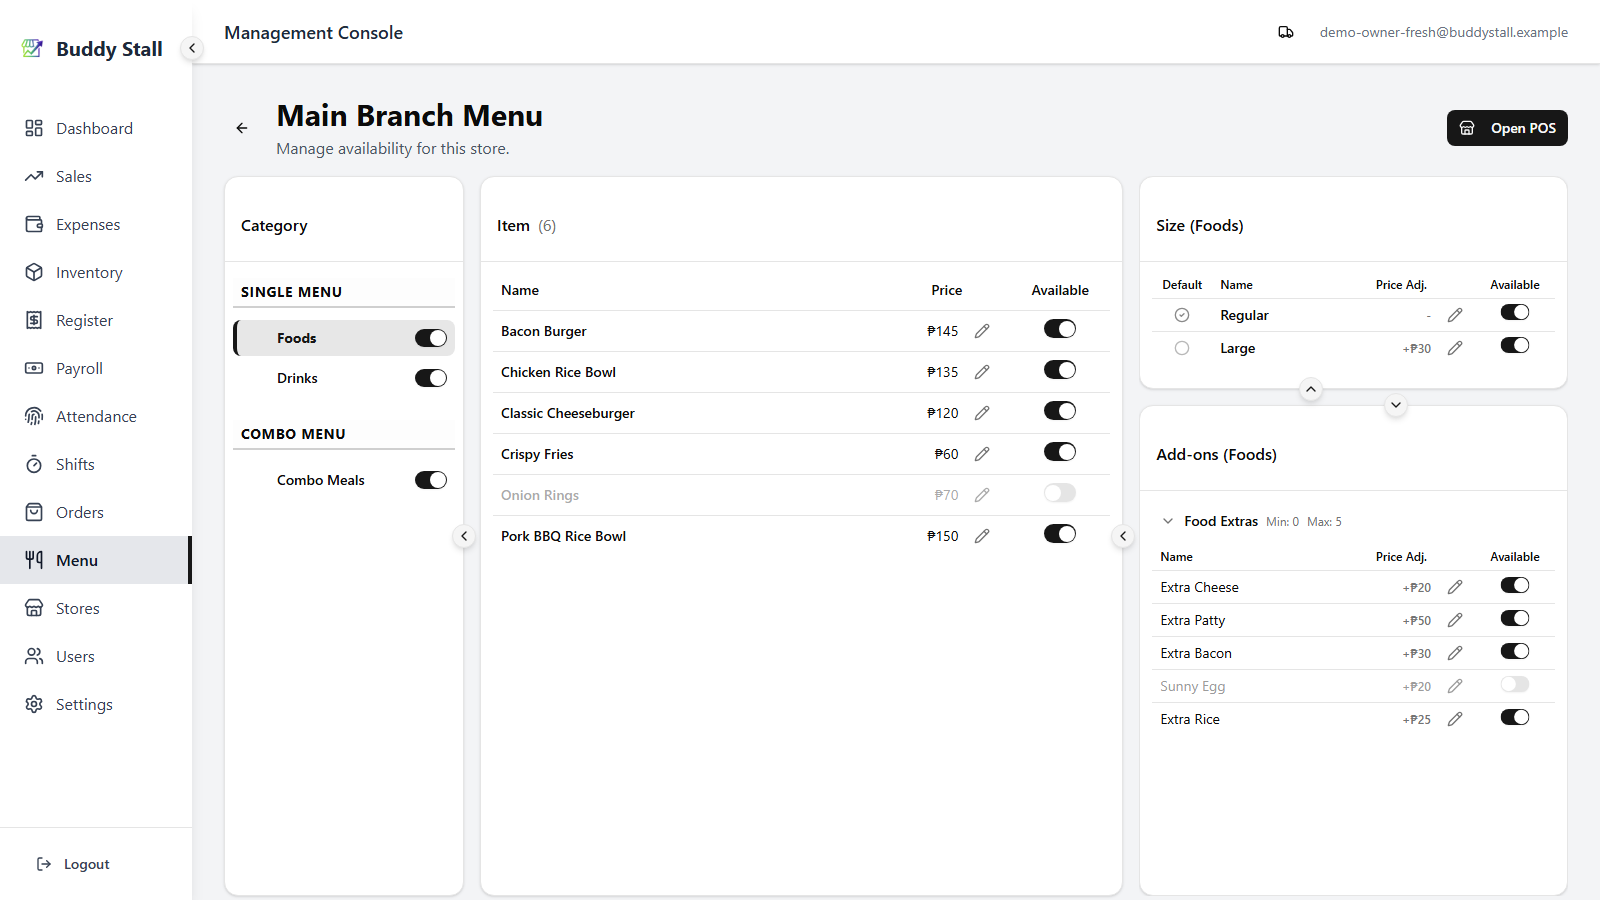
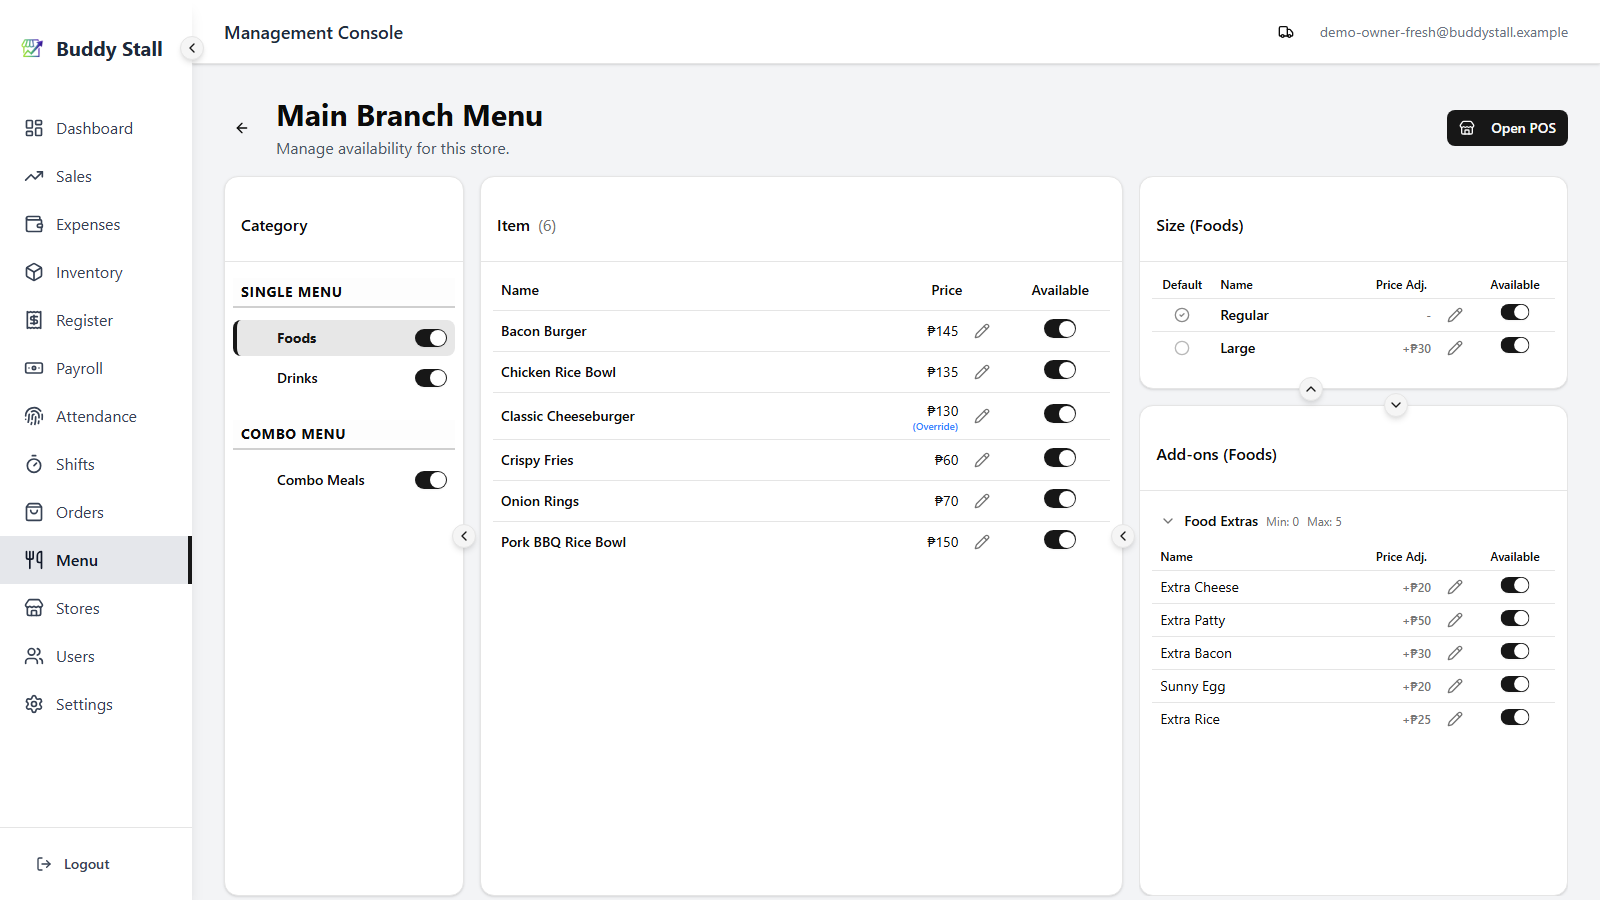
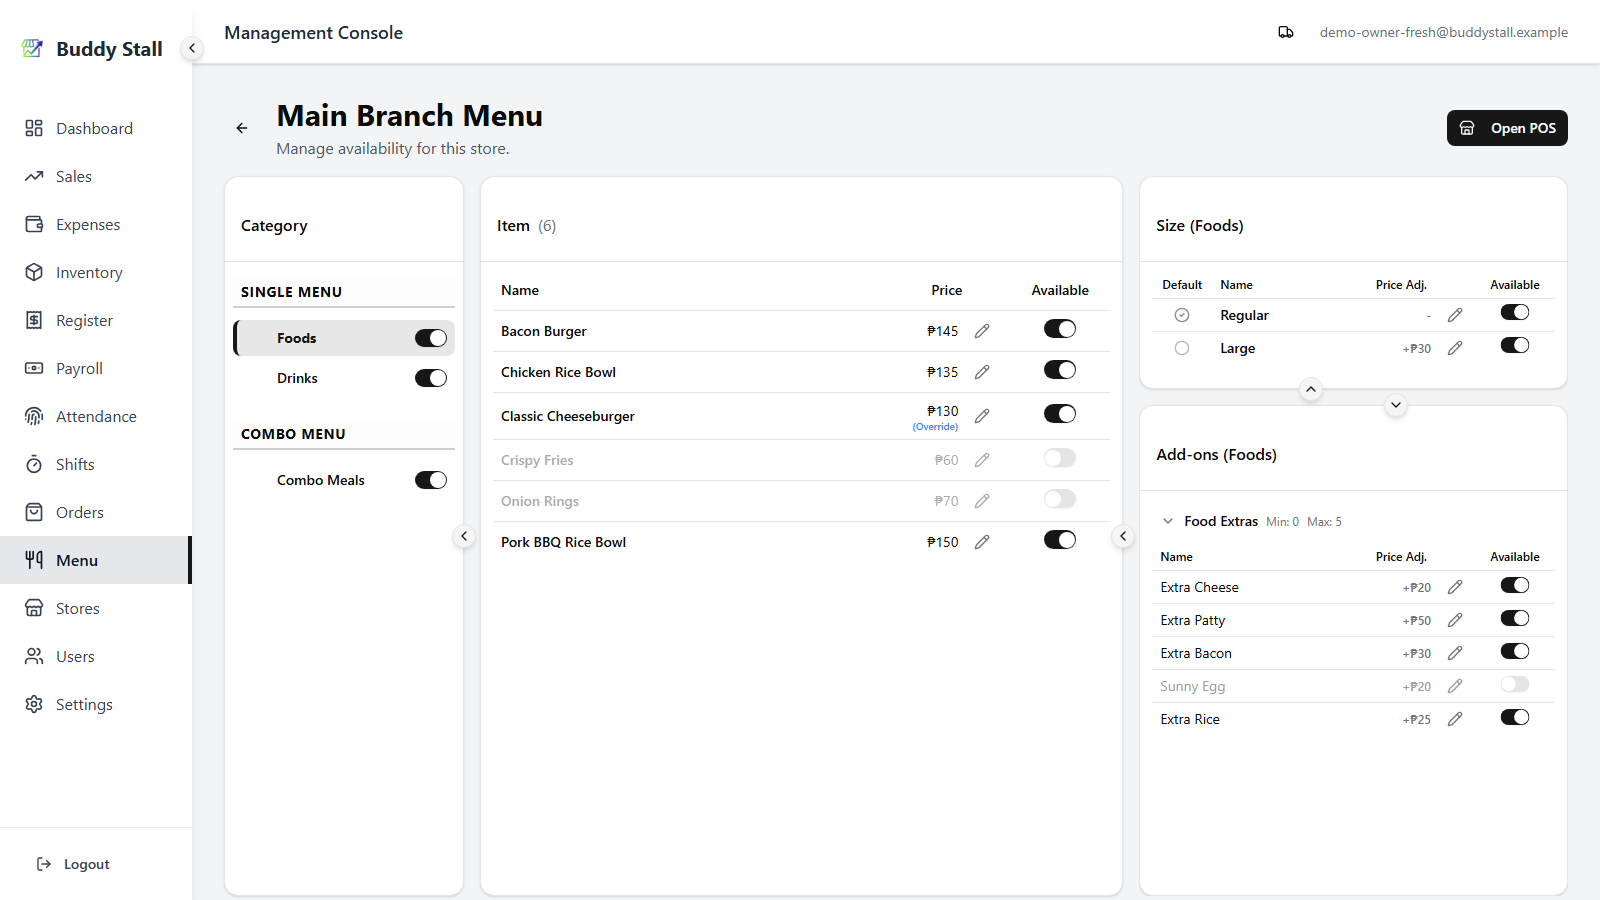
9. Hide what the store does not carry
Toggle off any category, item, size, or add-on the store does not offer. Hidden ones stop appearing in the store's POS — the master menu and every other store are untouched.

10. Override prices where needed
For items, sizes, or add-on options the store charges differently for, switch on the price override and enter the store's own value. Leave the override off and the master price flows through automatically.
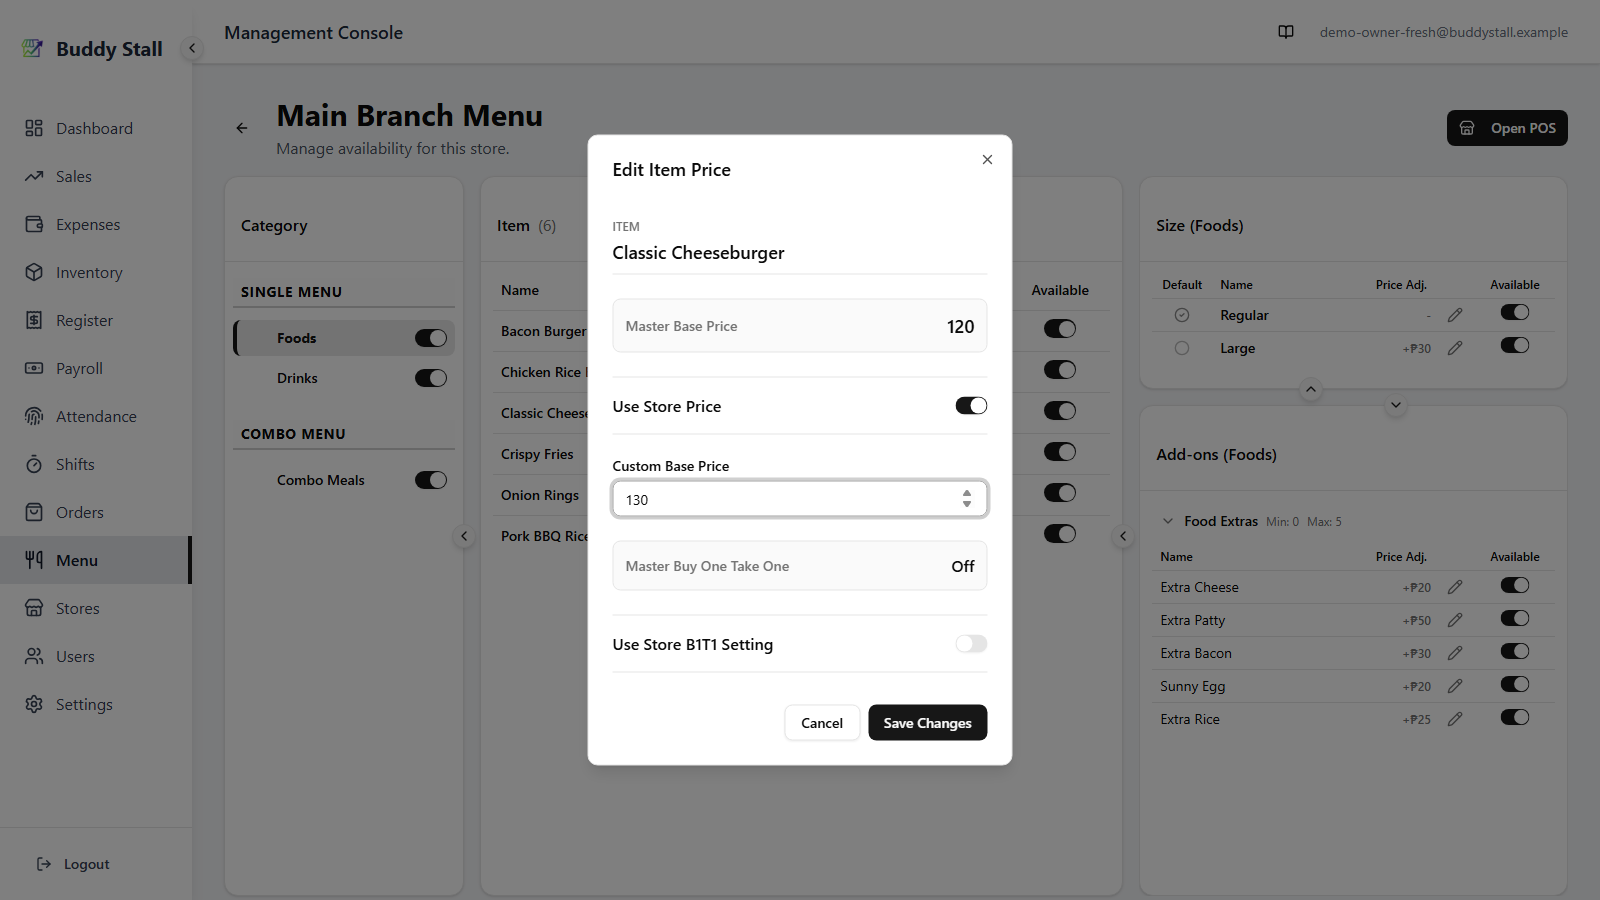
The same Edit Item Price dialog also carries this store's Buy One Take One choice — follow the master promo or override it per store. See the store menu for the details.
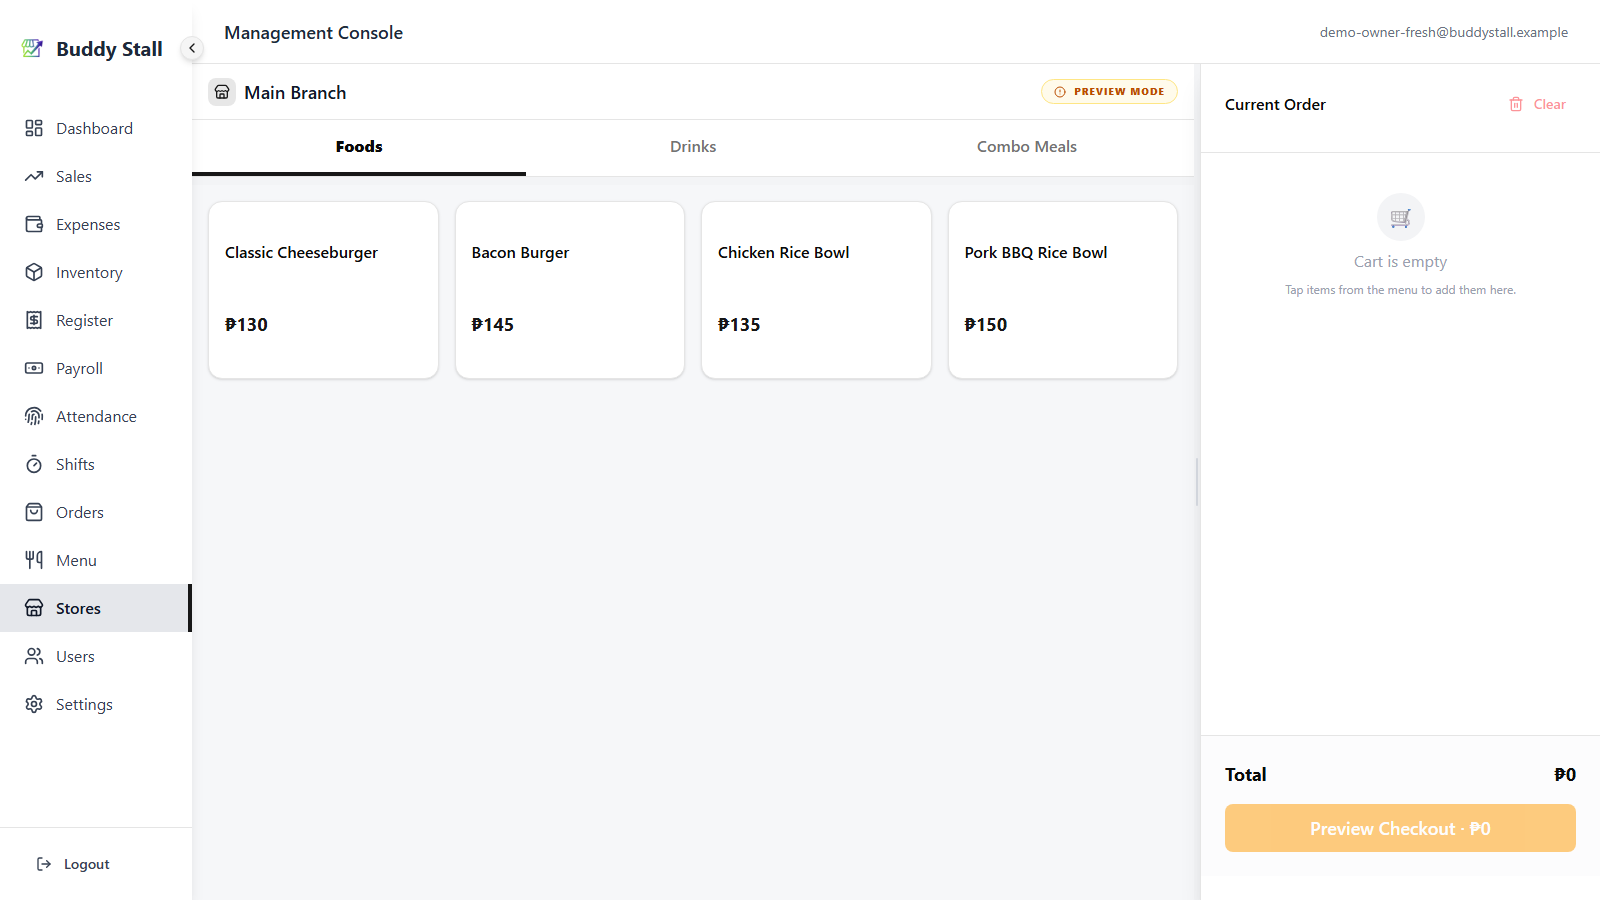
11. See the menu in the POS
Open the POS for this store to confirm the result. Categories, items, sizes, and add-ons appear in the order, and at the prices, you set in the previous steps — and the items you hid are nowhere to be seen.
Read next
Set up recipes
Link each menu item to the ingredients it uses, so every sale deducts stock automatically.
Store menu
Tune what each store shows and what it charges, on top of the master.
Master menu
The screen-by-screen reference for the owner-wide catalog.
Everything below applies only once your store has joined a franchise. These features stay hidden until you connect, so a single, unconnected store can stop here. See Joining a franchise.
Starting from a franchise preset
When your store is connected to a franchisor, much of this setup is already done for you. The franchisor's preset — whole categories, items, sizes, and add-ons — is loaded into your master menu, and every preset row carries the franchise's logo badge.
You can still adjust these to suit your store — edit prices and other unlocked fields just as you would your own items — but preset items cannot be deleted (the franchisor owns them, and may lock some fields too). See Joining a franchise and the master menu reference for the full picture.