Take orders
The POS is where each customer order is built and paid for. Items come from the left panel; the right panel is the current order (the cart); Checkout turns it into a sale and adds it to the day's running totals.
The POS can only take orders while a register session is open for the store. If you land on the open form instead of the menu grid, see Open & close register.
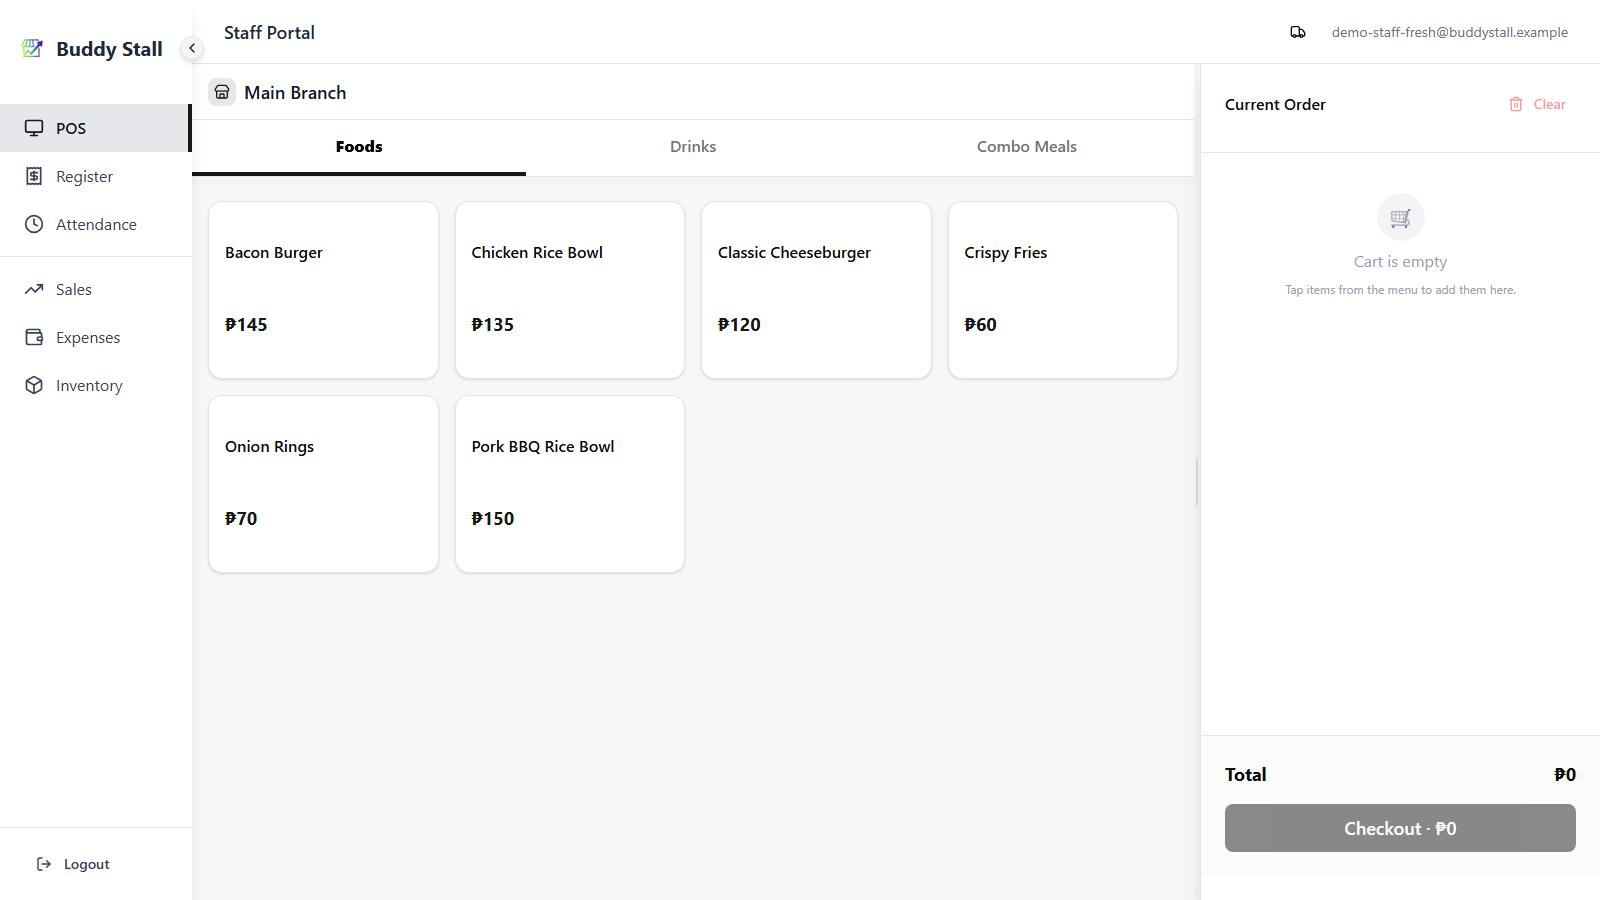
1. The POS layout
- Left — the menu, grouped into category tabs across the top. Swipe left or right on mobile to switch categories.
- Right (desktop) / bottom drawer (mobile) — the Current Order cart.
- Desktop only: drag the vertical bar between the menu and the cart to resize the cart panel.

2. Add items to the cart
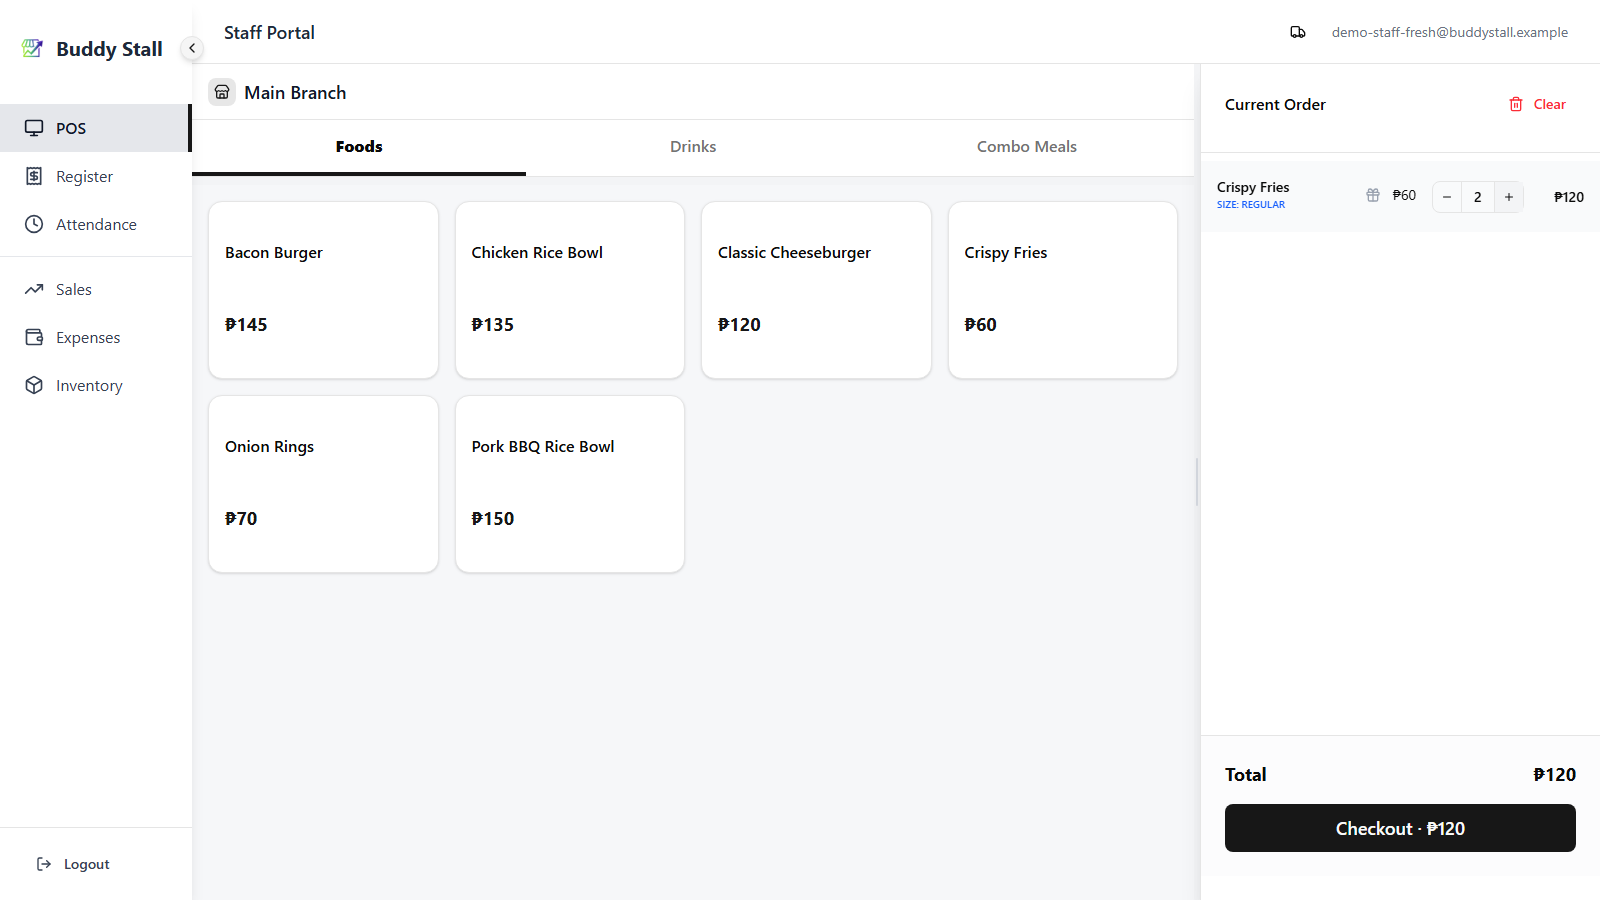
Tap to add
Tap a menu card to drop the item into the cart. Items with no size or add-on options go straight in at quantity 1; tapping the same one again adds another.
Whatever the item, the + / − stepper on each cart line adjusts the quantity any time.
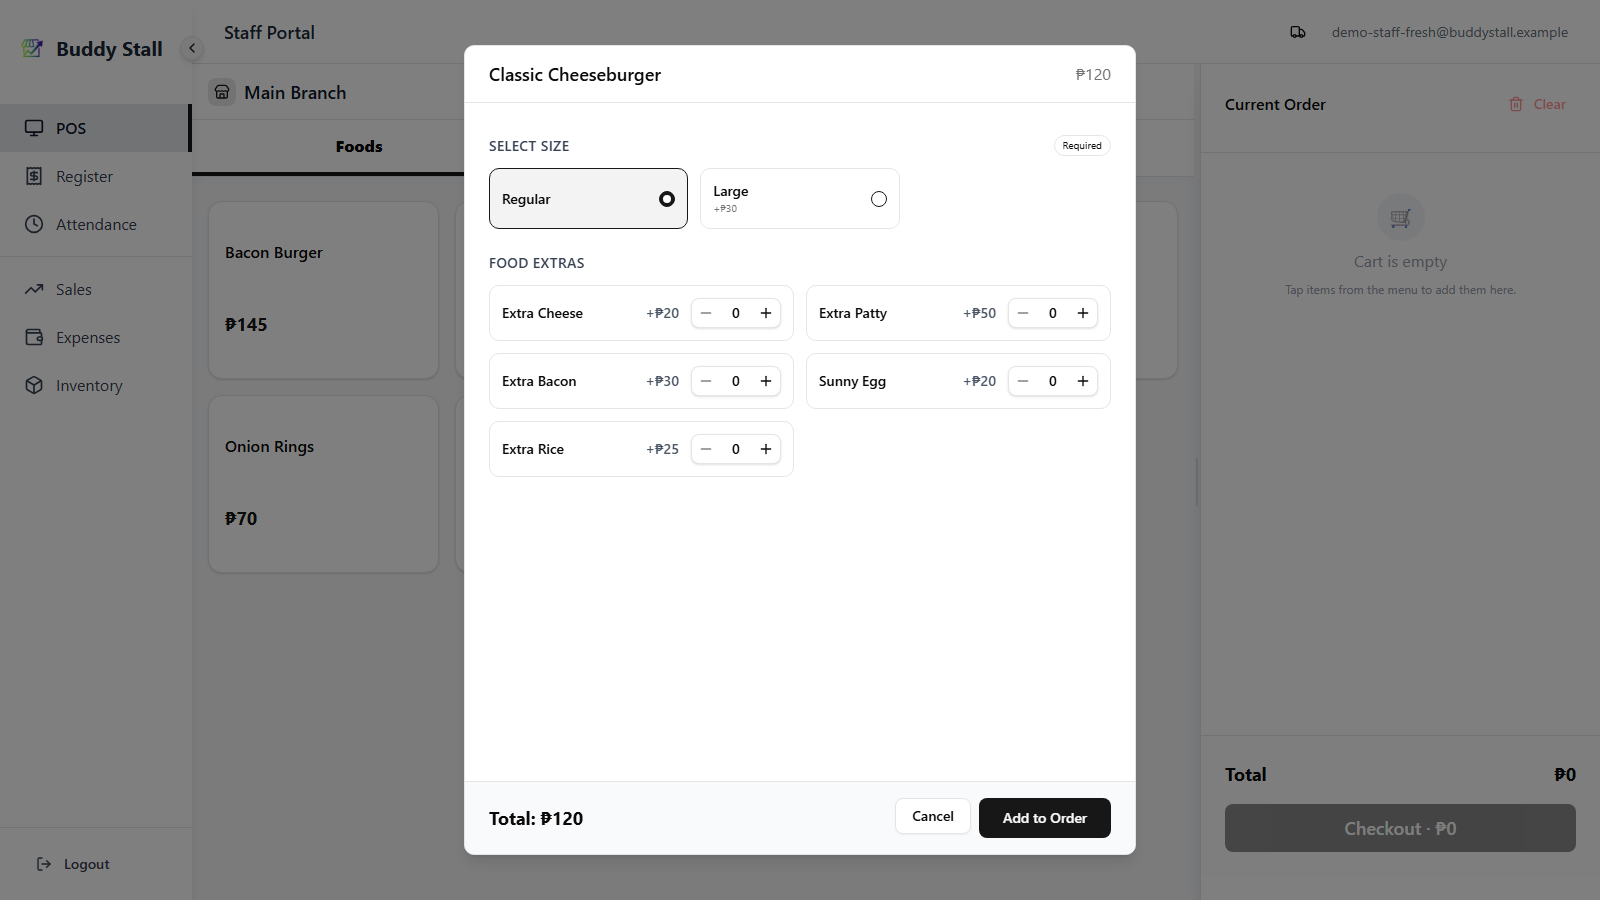
Items with sizes or add-ons
If an item has sizes or add-ons, tapping it opens a dialog.
Pick a size if offered, tick any add-ons, then Add. Sizes adjust the price; each priced add-on adds to it.
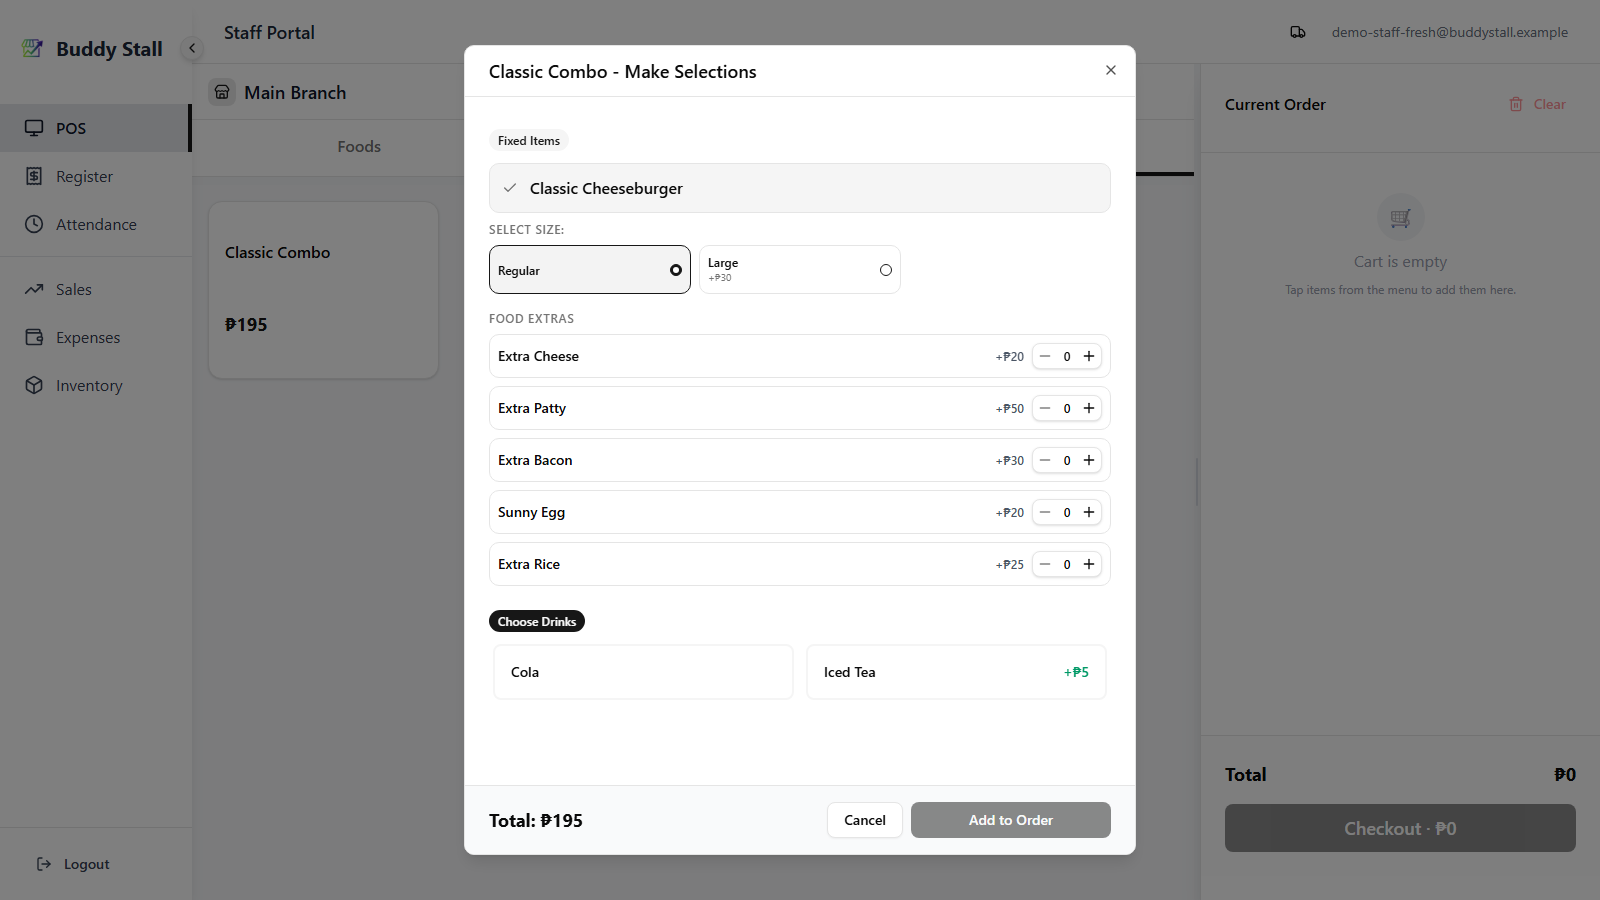
Combos
Combos open their own dialog — pick one option per slot. If a chosen item has sizes or add-ons, a further dialog opens to set those.
Edit a line
Tap a line in the cart to reopen its dialog and change the size, add-ons, or combo choices.

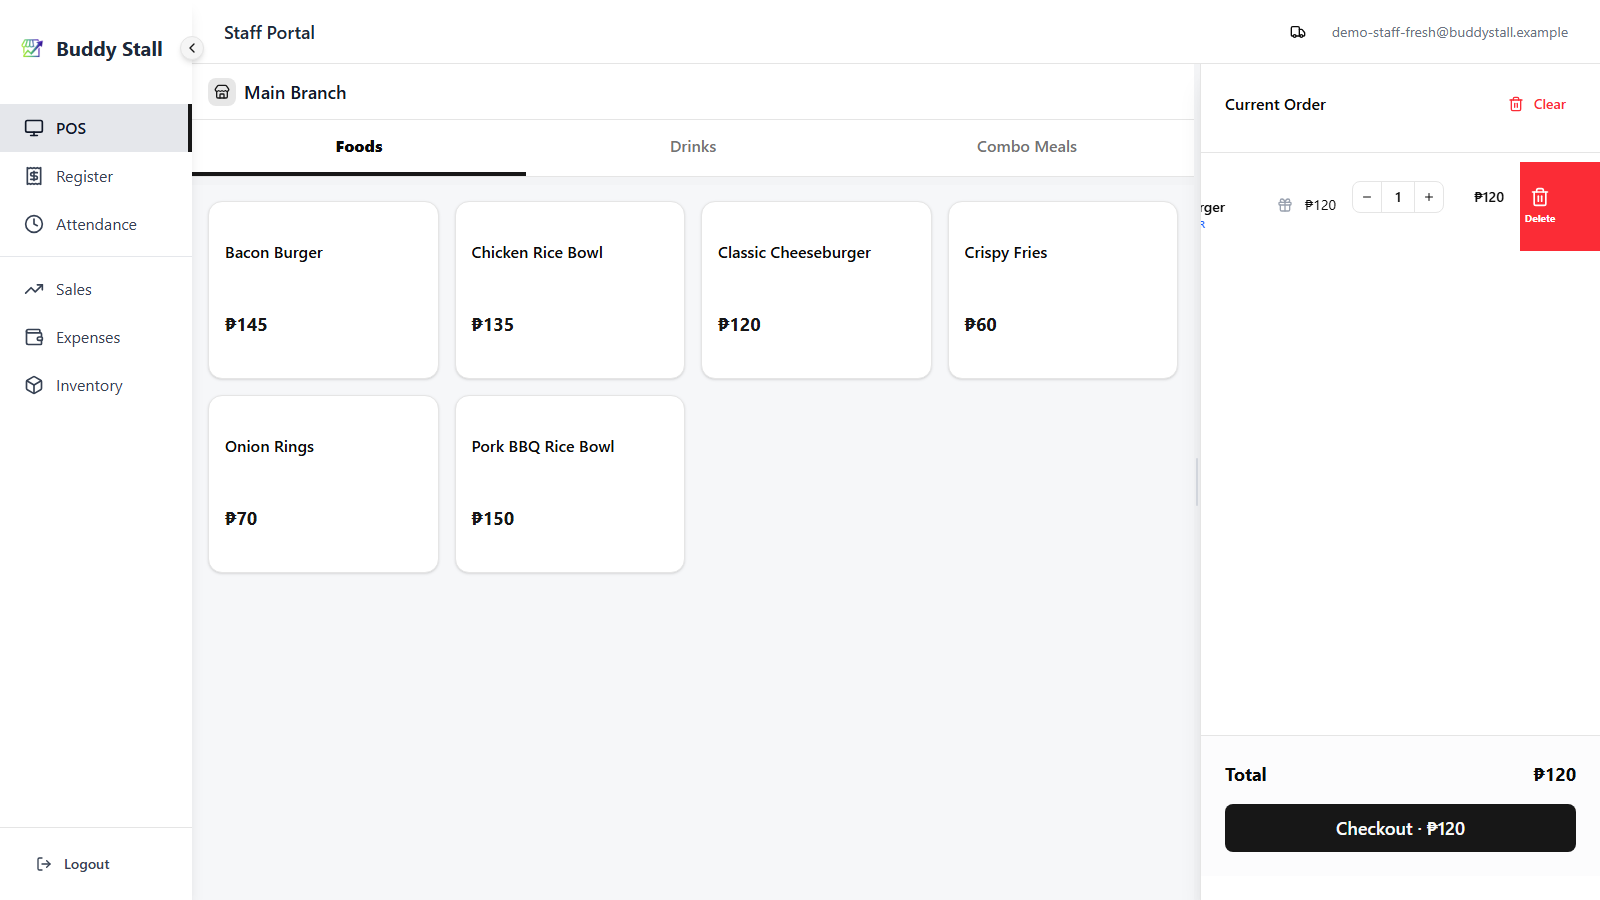
Remove a line or clear the cart
Swipe a line left to reveal its red Delete button and remove it. Clear at the top of the cart empties everything at once.
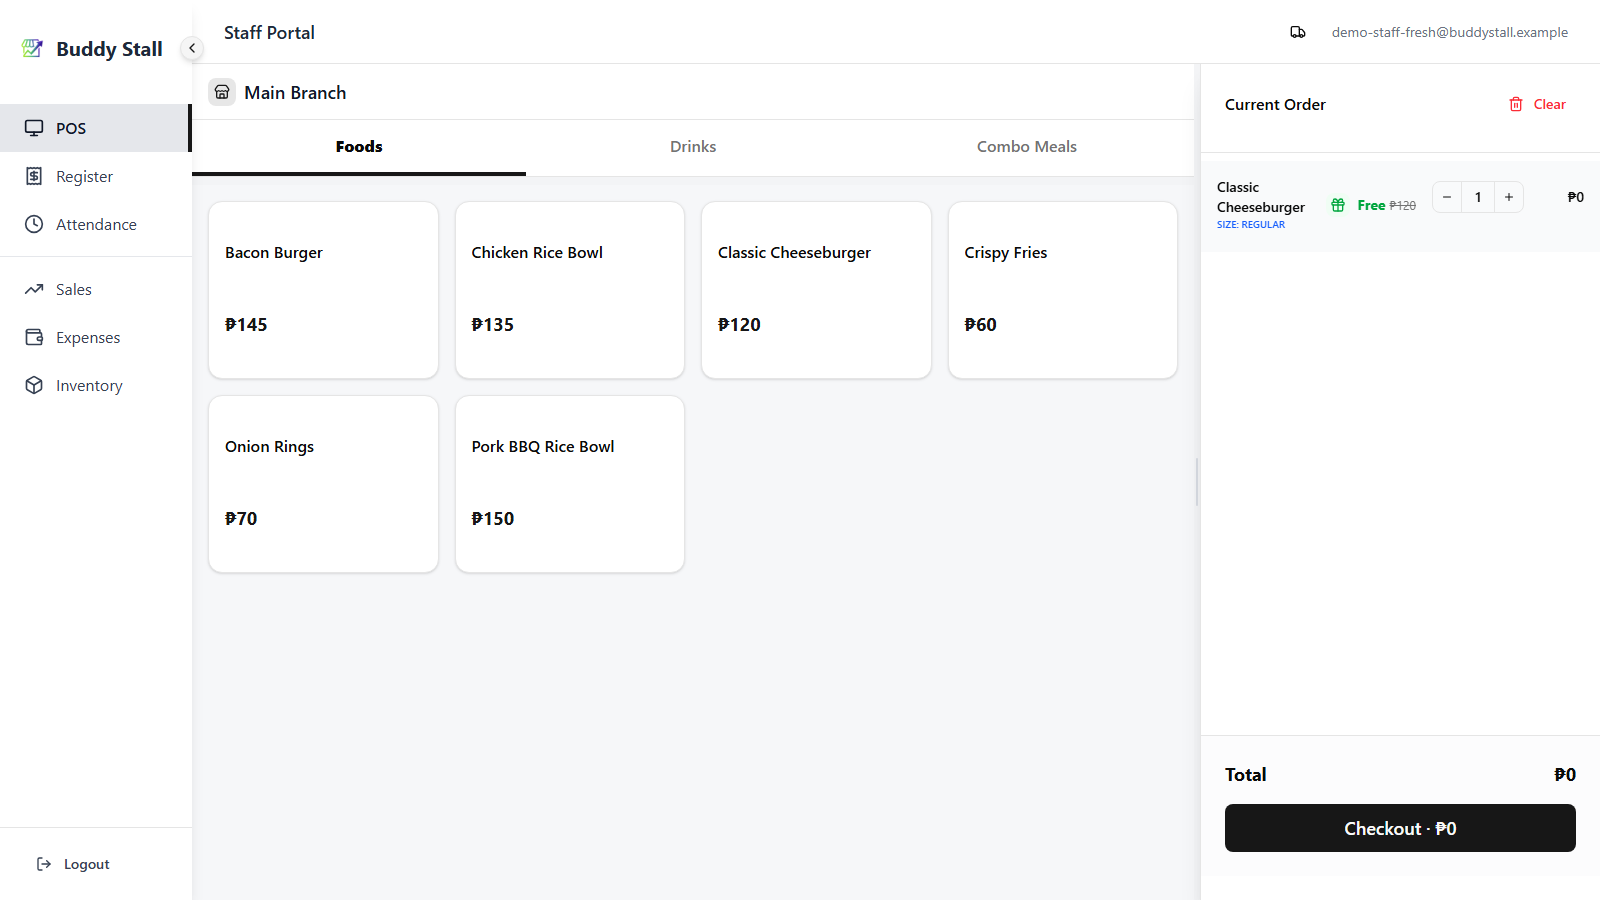
3. Marking an item or add-on as Free
A small gift icon sits on each cart line, and again on each add-on row underneath. Tap it to flip that piece to Free — the original price stays visible with a strikethrough so you can still see what was discounted.
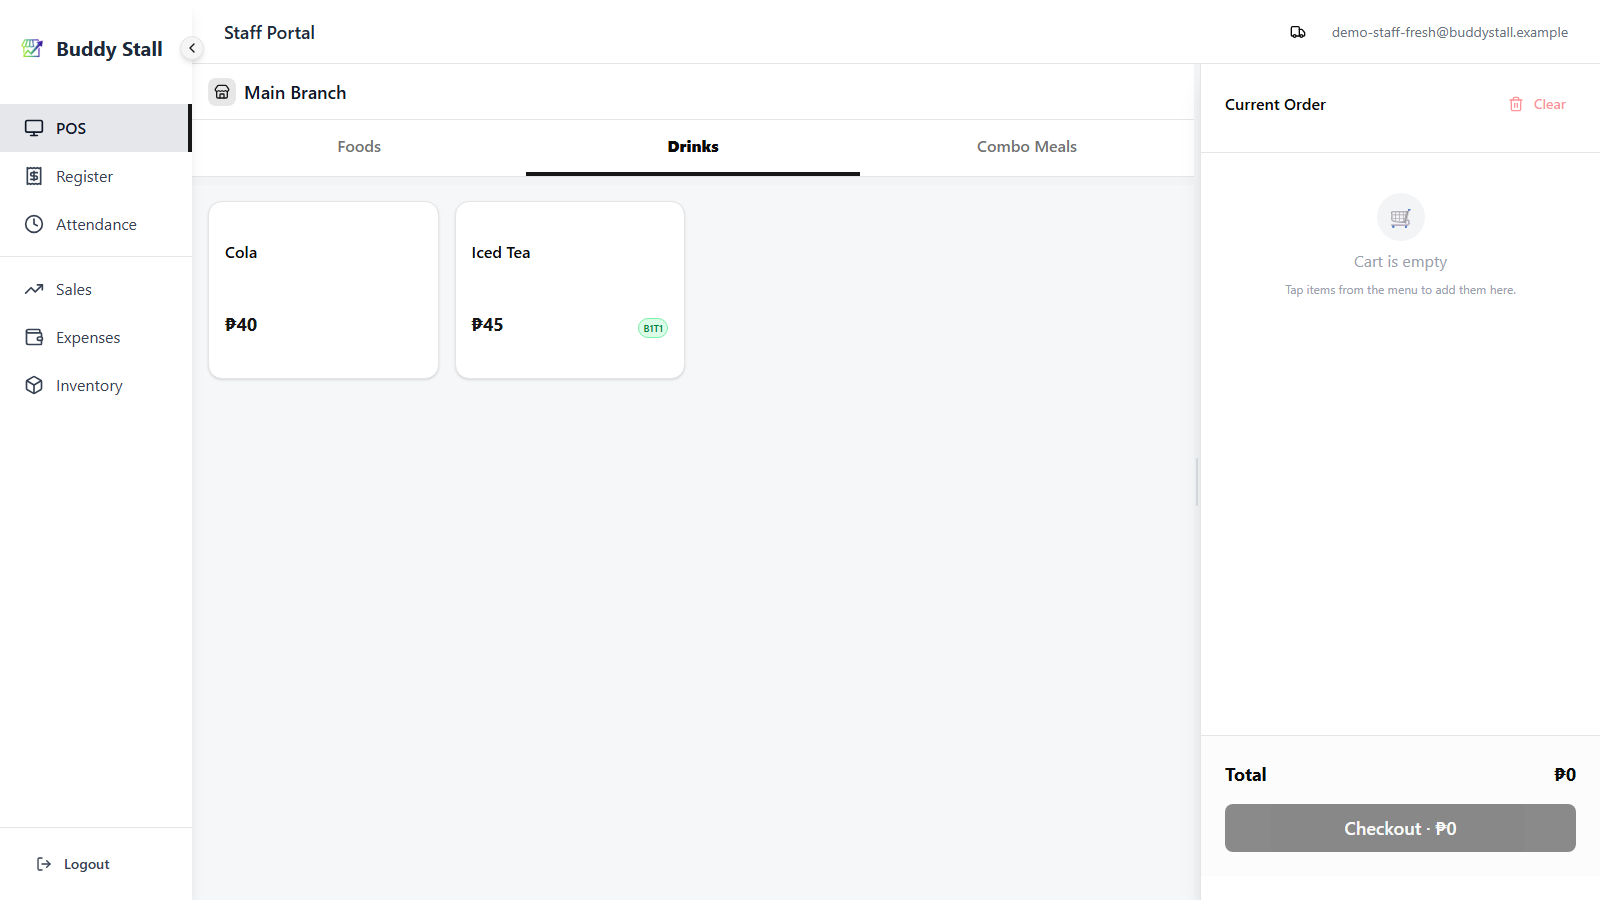
4. Buy One Take One
Some items run a Buy One Take One promo, marked with a green B1T1 badge on the menu card. The promo is switched on per item when setting up the menu.
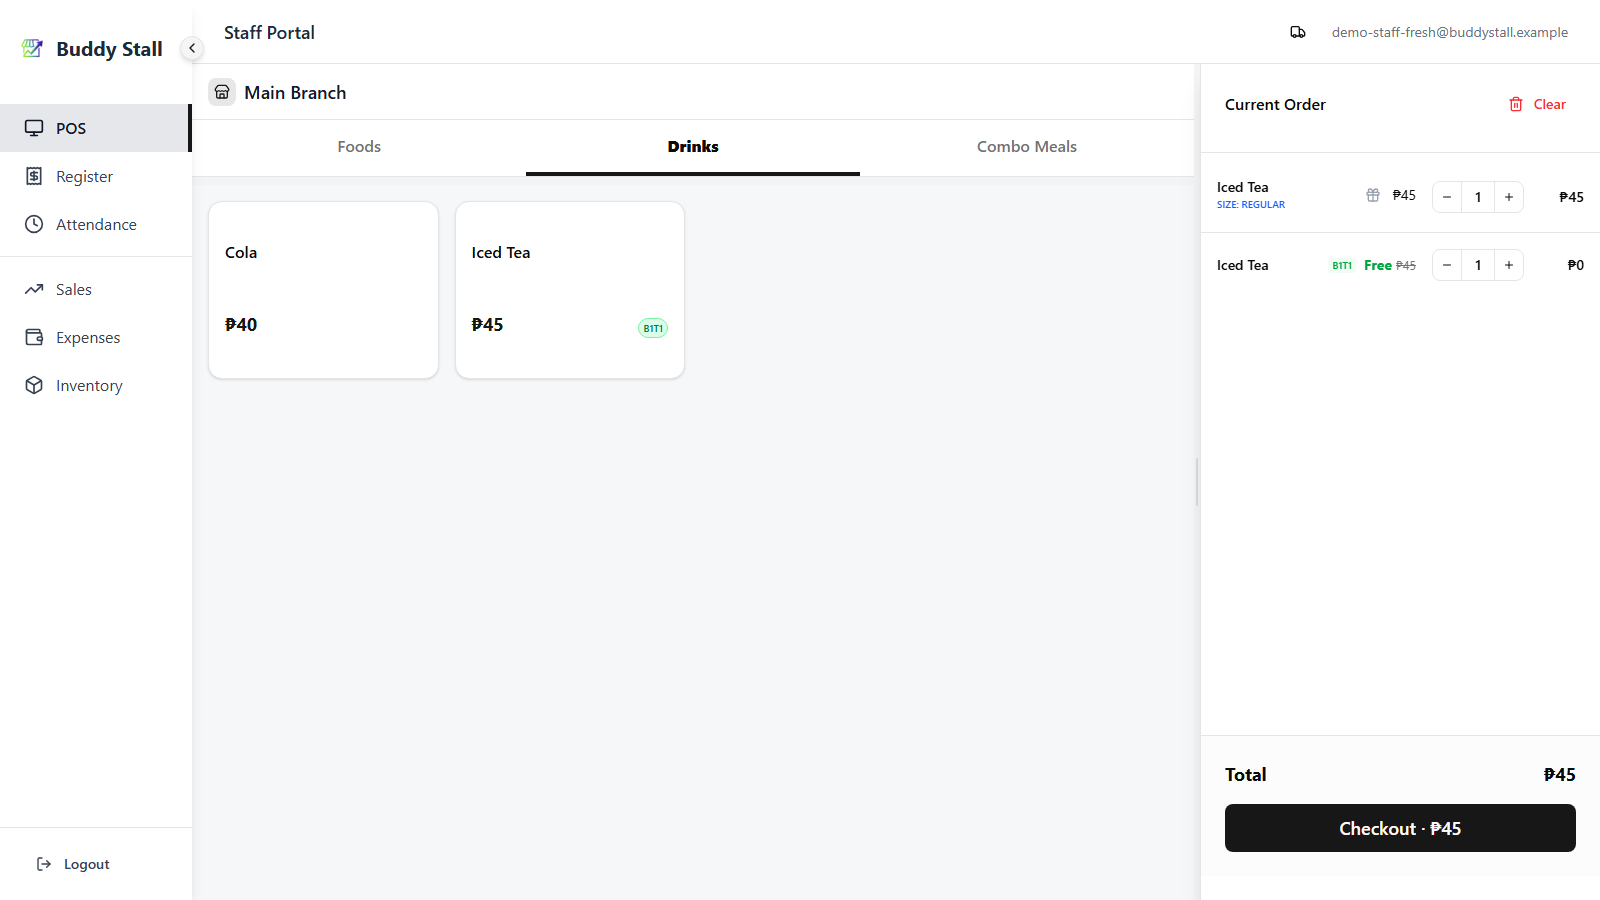
Tapping one adds two cart lines: the item at its normal price, and a second one locked to Free just beneath it. The free twin follows the paid line — change the quantity and both move together; remove the paid line and the free one goes with it. The free twin can't be edited or priced, and unlike an ordinary item a B1T1 item never merges into an existing line — every tap adds a fresh pair.
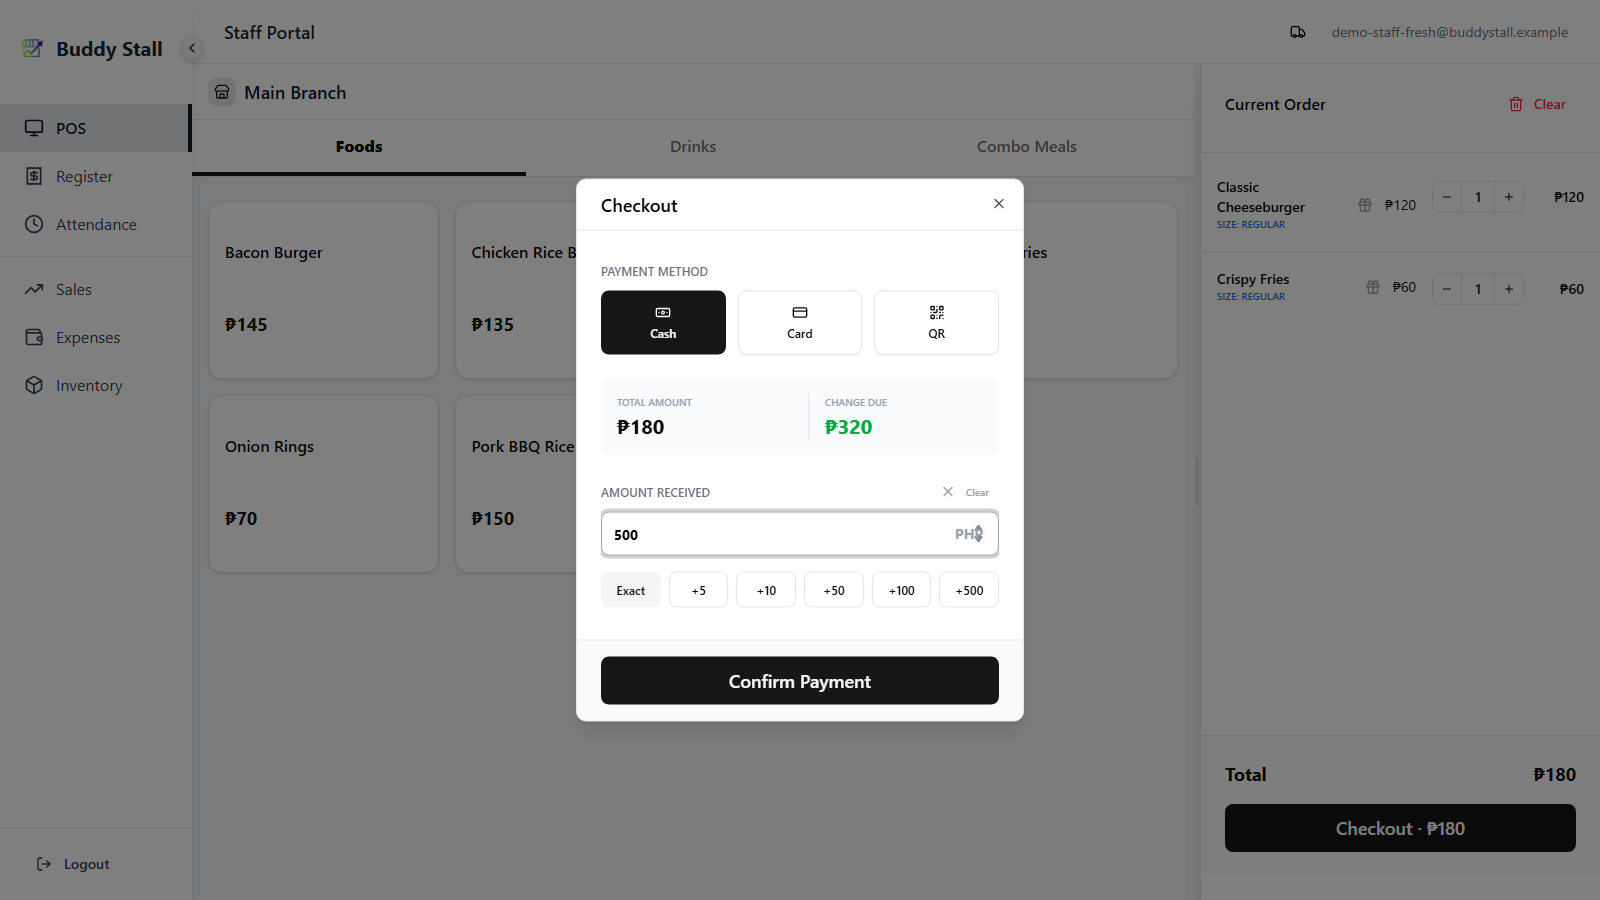
5. Checkout
Press Checkout at the bottom of the cart. The Checkout dialog opens with three payment buttons:
- Cash — enter the Amount Received. Quick buttons
(
Exact,+5,+10,+50,+100,+500) build the value fast. Change Due updates live; if the amount is short, it shows red and Confirm is disabled. - Card — no extra input.
- QR — no extra input.
Press Confirm Payment to post the order.
6. After checkout
- The cart clears immediately and you're back on the menu, ready for the next customer.
- Each sale gets a receipt number generated automatically against the current session — visible later on Sales History.
- The order is added to the register's running totals. Re‑open the register screen at any time to see Gross / Net / Cash Drawer figures move — see Open & close register.
7. While offline or on a slow network
The cart, checkout, and "next order" flow all keep working without a connection. Confirmed orders queue locally, and the register's totals stay accurate from the local cache. See Working offline for the full picture.
Read next
Open & close register
The session that must be open before the POS can take orders, and where today's totals are reconciled at close.
How to refund
How to reverse a sale after checkout — and how that flows back into the register summary.
Sales History
Where every confirmed transaction is listed and searchable after the fact.